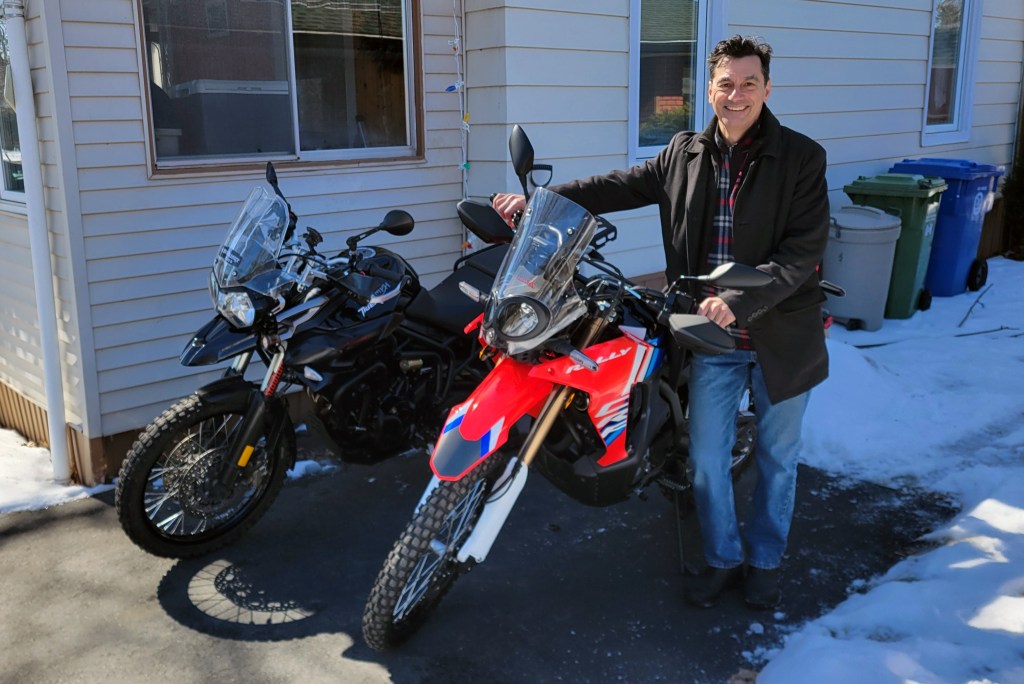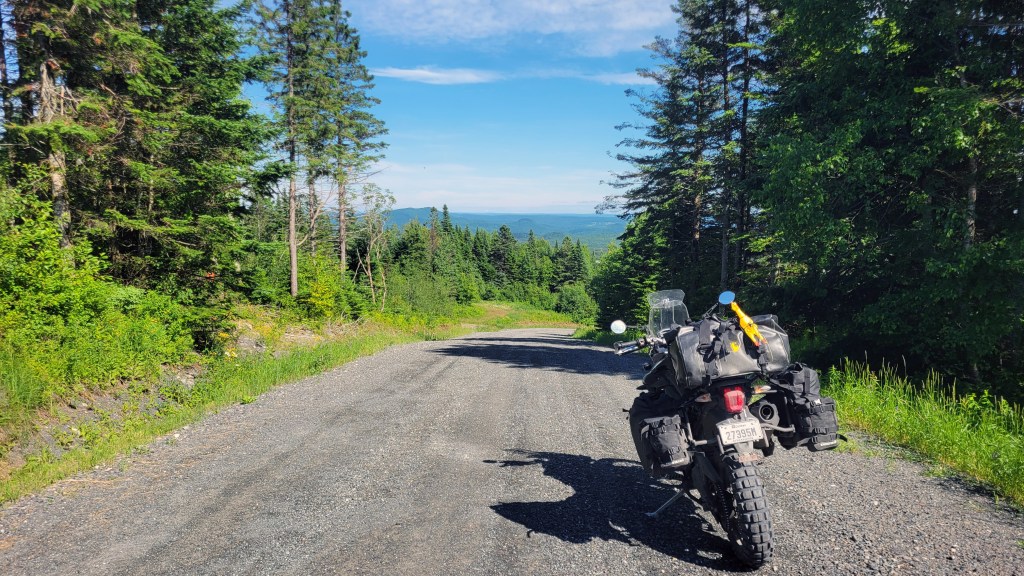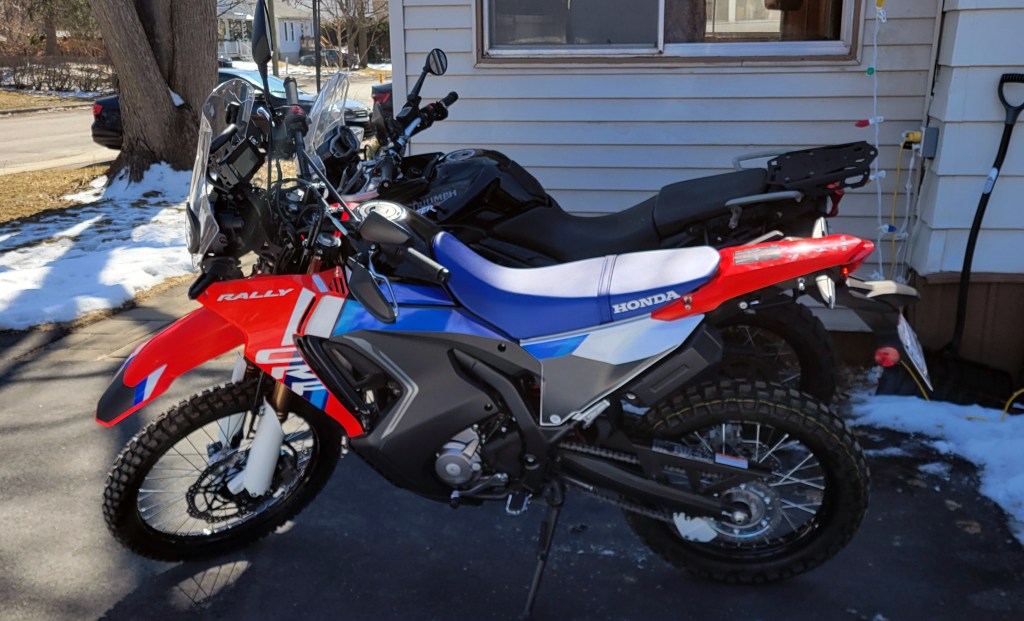
I add a Honda CRF 300L Rally to the stable.
The first and only time I’ve ridden a little dirt bike was at SMART Riding Adventures back in 2017. I did a day class there and they start you in the morning on a Yamaha 230. It was so much fun that I later wrote to a riding friend that it was better than sex. She said I must be doing something wrong, but I stand by my initial impression. On a little bike with knobby tires, you can do stuff that you’d never attempt on a bigger bike, like muddy ruts, deep water crossings, and hopping logs. You can just enjoy the ride without all the performance anxiety. Like I said, better than sex.
It’s taken me almost a decade, but I finally have a trail bike in my stable. It’s my retirement gift to myself. A budget bike isn’t much of a reward for 30 years of teaching in public education, but I’m not complaining one bit. It’s going to be a really fun season. My purchase last week was the culmination of about a year of research and rumination, including a lot of YouTube reviews, discussions with fellow riders, and some demo rides. The light ADV market is the hottest segment at the moment and there are several excellent bikes to choose from. Below is my rationale for how I landed on the Honda Rally. If you are in the market for a light ADV bike, some of this research might be helpful to you.
Assessing my Needs
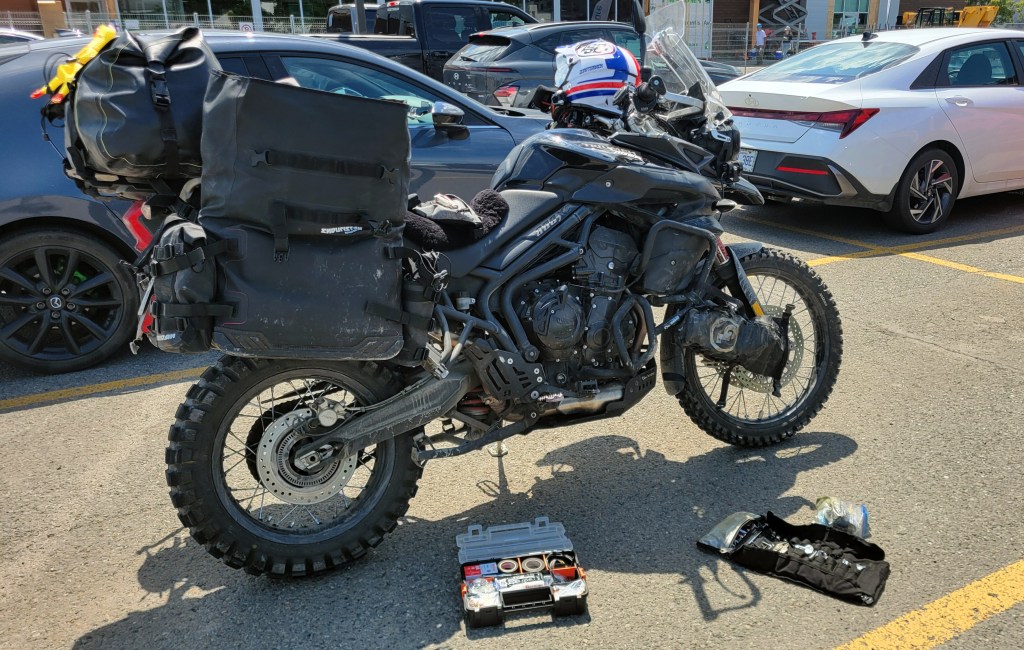
Of course, the first thing you have to decide in the purchase of a new bike is what you will be using it for. In fact, maybe that’s the most important part. I wanted a light trail bike to ride on the network of dirt roads and ATV trails here in Quebec and neighbouring Ontario and New Brunswick. I’d been trying to do this with a midsize bike since I began riding and it wasn’t going great. As Chris Birch says to people who show up at his clinics on a heavy bike, “You didn’t buy the wrong bike. You bought the wrong first bike.” There’s a reason Clinton Smout and his instructors at SMART put you on a little dirt bike to start: it’s a lot easier to learn off-road skills on a 300-lb bike than a 500-lb bike, and I would add, a lot safer too.
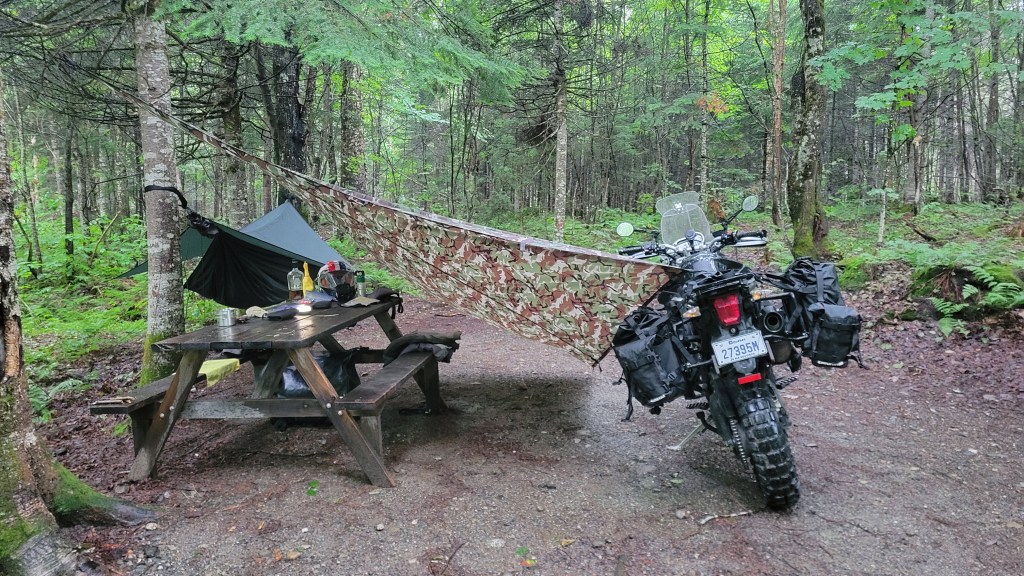
But I was also looking for a light ADV bike too, one that I could take on my solo adventures and not have to worry about getting stuck somewhere or being unable to lift on my own. A lighter bike is going to gain you access to more remote and technical riding than a big bike, and some of my retirement plans included that type of adventure. In sum, I was looking for a trail bike that could also cover long distances and do long days comfortably. I was essentially looking for a rally bike.
With that in mind, here were the contenders.
Kove 450 Rally
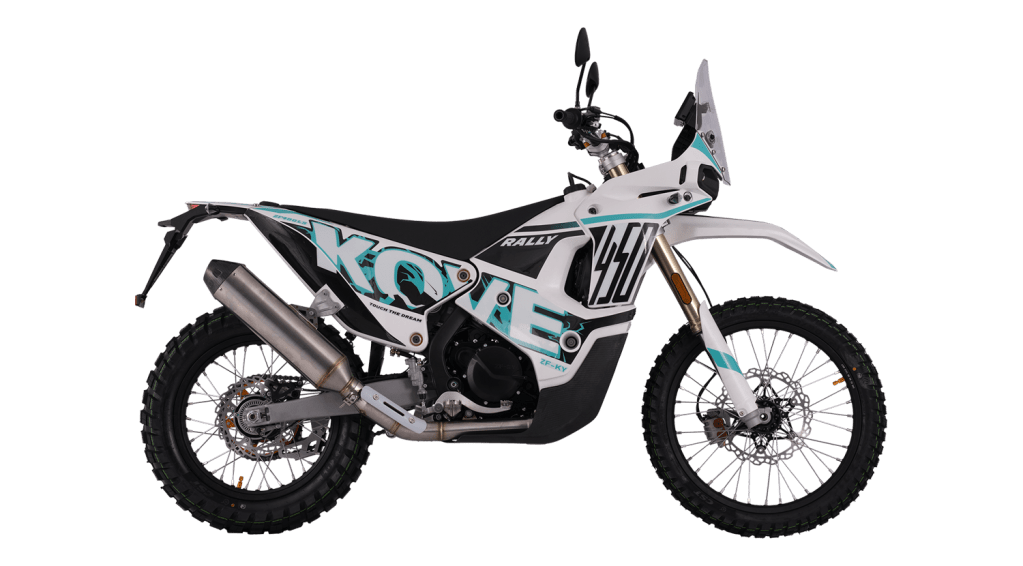
I got really excited when I heard you can get a competition rally bike for around $10G ($13G if you live in Canada). In the specs, it looked like the perfect bike. 449cc DOHC single with dual radiators, oil cooler, fuel injected, with a Bosch ECU controlling everything. The engine puts out 51 hp at 9500 rpm and 29.5 ft-lb at 7000 rpm.. It’s got a whopping 12″ suspension travel (high-seat model) and a whopping 8 Gallon fuel capacity over no less than 3 tanks (two up front, one in the rear) for a range of over 300 miles (500 kilometres), more than enough for even the most remote riding, all with a dry weight of just 320 lbs.! It seemed too good to be true and had many in the industry scratching their heads. I didn’t have any qualms about it being manufactured in China; Kove is not alone in that respect, and their performance in the Dakar Rally indicated good reliability. I sat on a Kove 450 at the Montreal Moto Show and it felt really good, exactly what I was looking for.
But this is one where the specs don’t tell the full story. I test rode one at La Classique Moto Fest last year. My first impression: it was loud! And for someone with only one good ear, the thought of riding this all day with the stock muffler was a deal-breaker. I could have perhaps got a baffle, but the other impression I had is that the experience of riding this bike is very raw. It’s vibey, and had head-shake at speed. Air management wasn’t great (more noise). In short, it felt like a race bike, which it is. I could have a ton of fun on this bike for day rides, but I think it would be very fatiguing on a long-distance tour, especially with the stock seat. As I write this, Craig Luke of I Think We Missed a Turn is preparing to ride the entire TCAT this summer on his Kove 450, and it will be interesting to hear how he gets on. No doubt he’s got the bike to get through whatever the TCAT throws at him, but I decided it was too much bike for me.
CF Moto Ibex 450
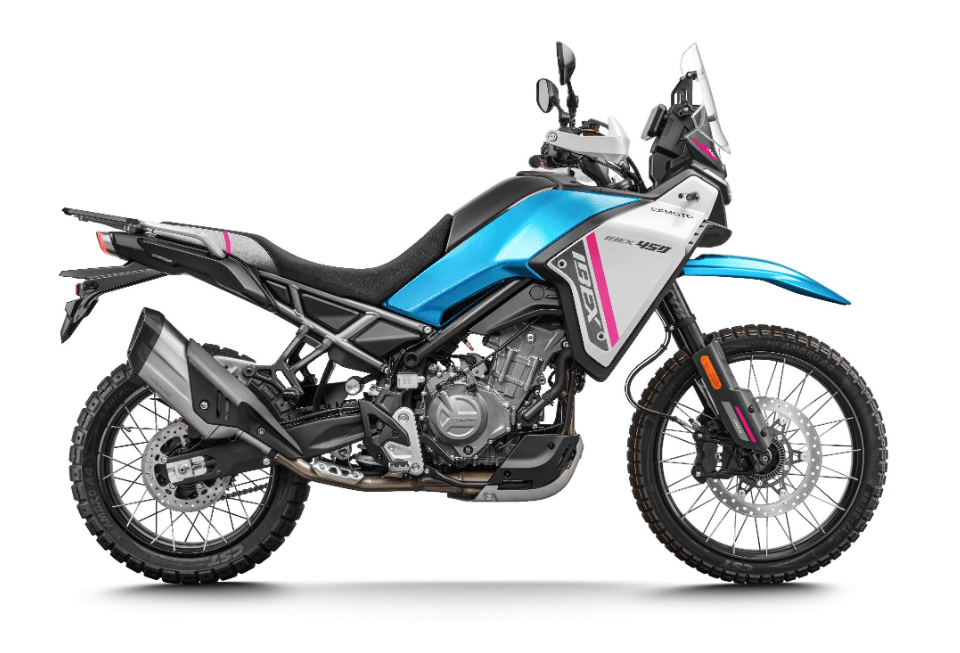
The bike everyone was talking about at La Classique was the CF Moto Ibex 450. It has everything hard core ADV riders have been asking for but no manufacturer was willing to make at the risk of cutting into the market share of one of their other bikes. It took a renegade manufacturer like CF Moto without a horse yet in the race to make the proverbial “unicorn bike.” It’s got a sweet sounding and smooth 449 parallel twin engine with a 270 degree offset crank for low-end grunt and a throaty exhaust note, fully adjustable suspension front and back, 18/21 tubeless spoked wheels, a slipper clutch, both ABS and CBS (combined braking system), a TFT display, rider modes, app connectivity . . . like I said, everything we’ve been asking for and for under $8000. Canadian!
The fly in the ointment? There really isn’t one, except maybe no cruise control, which is odd because it has ride-by-wire. That can easily be remedied by a throttle lock. It’s Chinese made, but I’m not calling that a fly. CF Moto has been making engines for KTM for a while now and we all know how reliable they are. [Pause for comic effect.] Okay, maybe that’s a bit of fly. Honestly, Honda’s reliability was a factor in my decision, but the real reason I didn’t go with the Ibex was that, at 420 lbs, it’s getting pretty close to the middle-weight bike I already have. (The Tiger stock 474 lb.) Like the Kove, the Ibex was a close second. I test rode one at La Classique and it’s a very impressive package. If I didn’t already have a bike and was aiming for another one-bike set-up, it would be hard to beat the Ibex 450.
Royal Enfield Himalayan 450
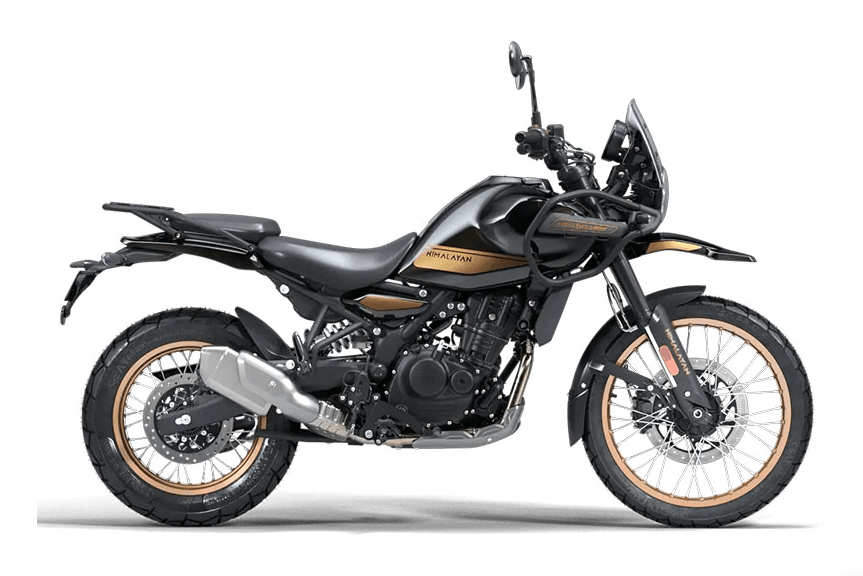
Gone are the days of RE’s reliability issues. When Fort Nine did a comparison of the top motorcycle manufacturers’ plants for cleanliness by analyzing oil samples taken from new models, he surprisingly found that Royal Enfield came out on top, even beating out BMW, who came up with the standards. So they seem to have turned their manufacturing around. And under maverick CEO Siddhartha Lal, the company’s fortunes seem to have also turned around. The third corner of this triangle is design and engineering, and I can’t speak to that directly but can say that everyone who rides the 450 Himalayan is surprised by just how capable it is, despite its spec sheet. Itchy Boots was one of its first converts when she rode a pre-production model into the Himalayan Mountains, and Adam Reimann took it through the Nepal and could often be heard praising “Sir Enfield” for “getting it done.” In other light ADV “shootouts,” the Himalayan holds its own. In particular, reviews seems to praise the characteristics of the engine, and while the suspension is not adjustable, the stock set-up seems to work surprisingly well.
I haven’t test ridden a Himalayan, but it was never on my short list because of the 432-lb curb weight. That’s about 100 lbs more than what I was looking for as a fun trail bike. The Himalayan is listed as a light ADV, but like George Orwell, who self-identified as “lower upper-middle-class,” the Himalayan is an upper light-middle-weight bike. It also doesn’t have a lot of ground clearance, which is important when you’re riding trails. My sense is that trying to take the Himalayan 450 on trails would be like when I tried taking my 650 GS on them, and that didn’t go well.
KTM 390 Adventure R
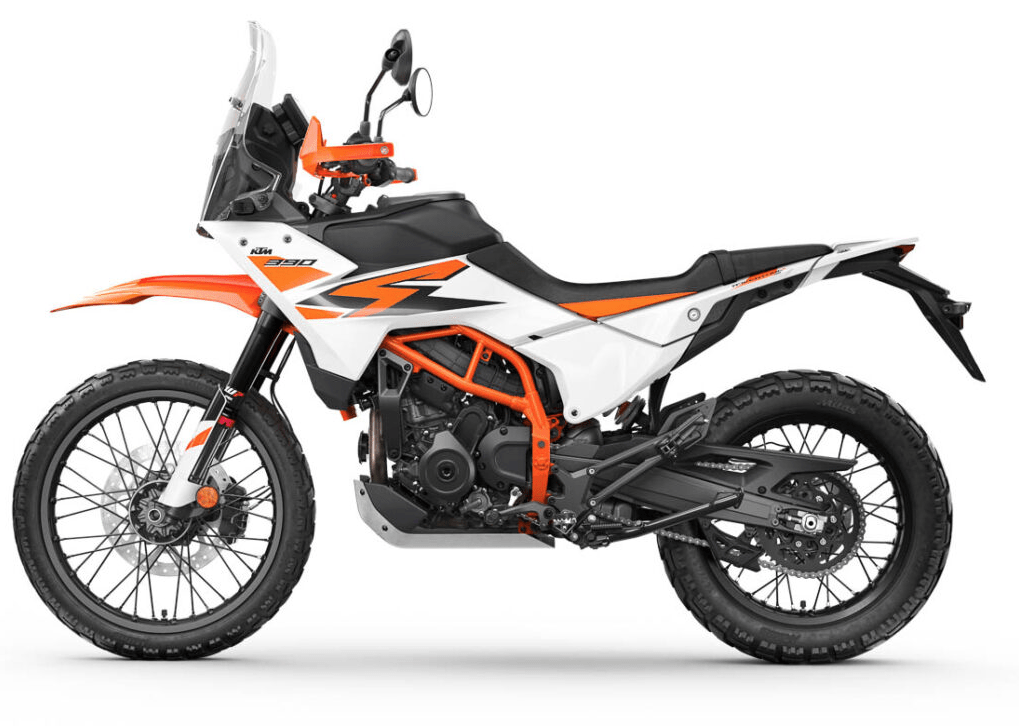
Honestly, probably the best off-road bike for the money in this segment is the KTM 390 Adventure R. It’s got 45 hp, WP suspension, floating axial brakes, cornering ABS and traction control, rider modes, 10.7″ ground clearance, and a 5″ TFT display with connectivity to your phone, all for a very competitive price. At 388 lbs, it’s not as light at the Kove, but significantly lighter than the Ibex and Himalayan. Certainly, when you look at all that, it seems a no-brainer to go for the KTM.
But here’s the thing, and I’m not even going to mention the chocolate camshafts. Even before KTM had its meltdown, I was never a KTM guy. Why? Partly because I swim against the crowd, but mostly because I’m more of an explorer than a racer. These engines have their specific characteristics, and the KTM is a high-strung, high-octane, high-compression, high-revving engine that likes to go fast and be aggressive. At 62, my fast days are over and I was never aggressive. Or maybe I was never fast and my aggressive days are over. Either way, that bike just doesn’t suit my personality, and I think that’s an important but indefinable quality in a bike. Do you see yourself in a bike, or put another way, does the bike reflect something of you? Maybe this is what others call brand loyalty, but I call it Narcissism. And while this all feels very new and unfamiliar, I think I’m a Honda guy.
Honda CRF 300L Rally
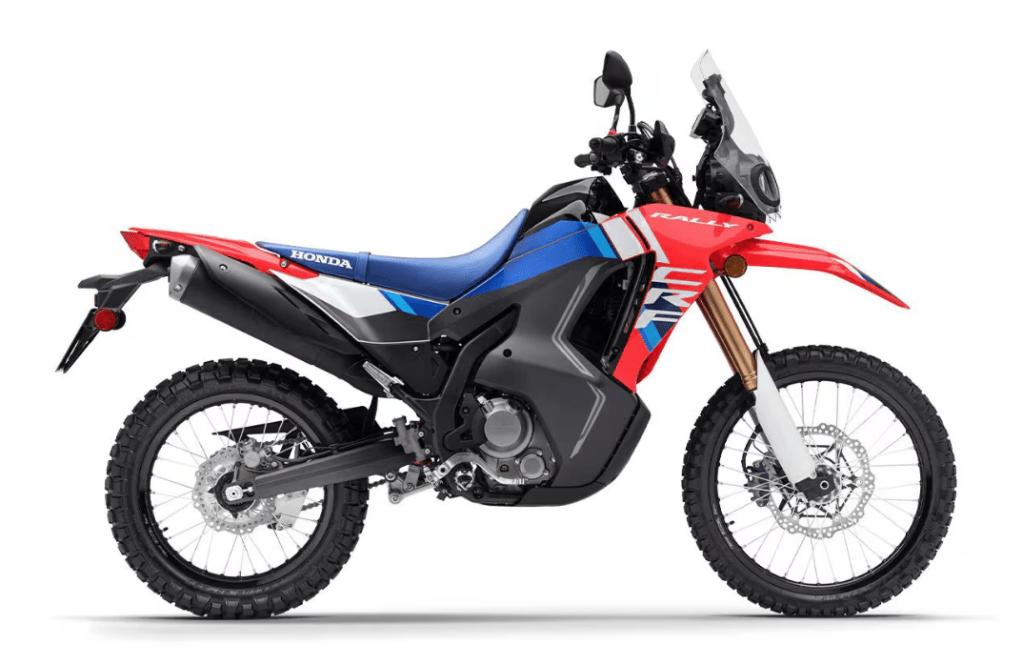
I was initially tipped off about the Honda 300L by my buddy Riley from The Awesome Players. I think it was St. Patrick’s Day 2025, so about a year ago, and we were sitting on my porch having a Guinness and talking—what else—bikes. He’d just participated in Traction eRag’s 5-day training course out in BC. They run a fleet of Honda 250s and report no burnt clutches and very few mechanical issues. When I started watching the reviews, I kept hearing about “Honda reliability.” I’ve always fixed my own bikes, more out of necessity than good sense, and the idea of owning one that doesn’t require constant maintenance sounded appealing.
Aside from its reliability, there are a couple of characteristics of the Honda that I kept hearing in reviews. One is that, unlike the KTM, the Honda gets its power low in the rev range. This is really helpful if you don’t want to go fast but need torque down low to get up hills and over obstacles. The other is that the bike is very confidence-inspiring. That has something to do with the power delivery but also how the bike seems to carry its weight low. And at only 335 lbs, it’s one of the lightest bikes in the segment.
It’s only got 27 hp, so many owners immediately start trying to boost that with modifications to the airbox, ECU remapping, aftermarket exhaust, etc. even a complete new big bore kit if you want to have KTM-like power out of Honda. But I think those people are missing the point. Doing those mods will change the reliability and characteristics of the engine. Remember kids: it’s the tortoise who wins the race, not the hare. The only mods I might do to the engine would be to remove some of the Euro restrictions that are choking it.
Reviews also point out that the suspension is soft. Yeah, Itchy Boots rode one through South America, America, and most of Canada before finding out in Prince George, I think it was, that her static sag fully loaded was about 50%. When I decided to get the Honda, my initial plan was to buy used and put the difference in money into a suspension upgrade. Maybe an upgrade is somewhere in the new bike’s future, but there was only about $1000 difference between used 2021-24 models with 8,000K on them and a new 2025 model with improved suspension. At all of 150 lbs, I’m hoping the stock suspension on the 2025 model will be sufficient, at least for a while.
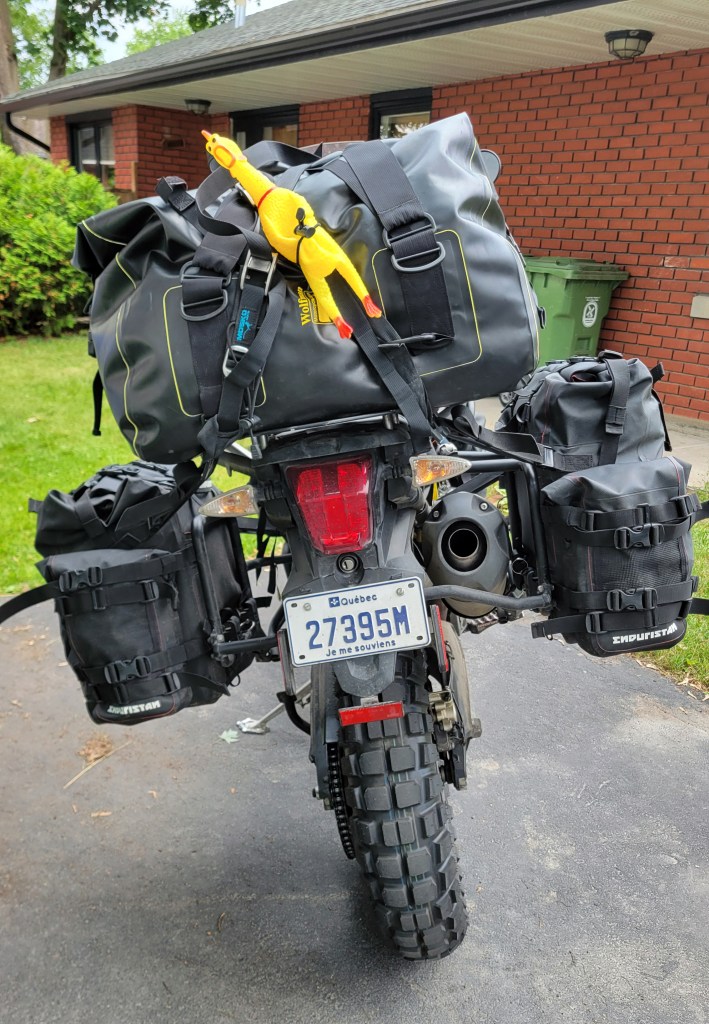
Other pros? The engine is supposedly surprisingly smooth for a single, and Honda have put a 6th gear in that serves as an overdrive. It will do 70 mph (120 kph), depending on wind direction, which is enough to get you to the dirt. The windscreen works quite well, and the headlight, although goofy-looking (some might say ugly), reportedly works very well, which is important on an ADV bike. Last but not least, I think the bike looks great. I like that Honda have gone back to the blue saddle on the 2025 model. You can see the rally heritage in its design.
Reviewers consistently call the Honda CRF 300 Rally either a “beginner bike” or an “old man bike.” As an older man who still considers himself a beginner off road, I think it will be a good fit.
Which bike would you choose and why? Is there another I should have considered? Do you have a new bike this season? Drop a comment below. I always like to hear from my readers.