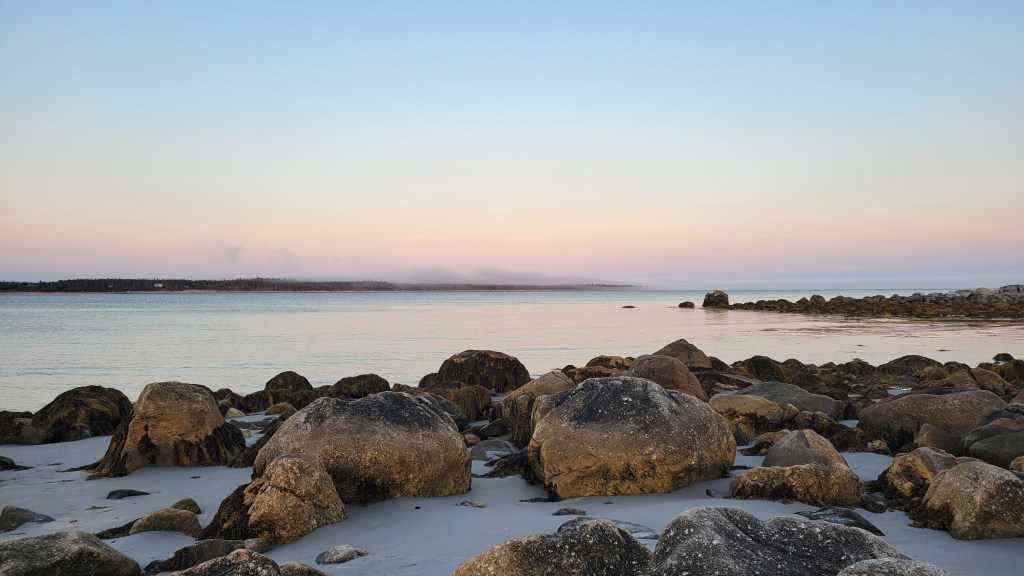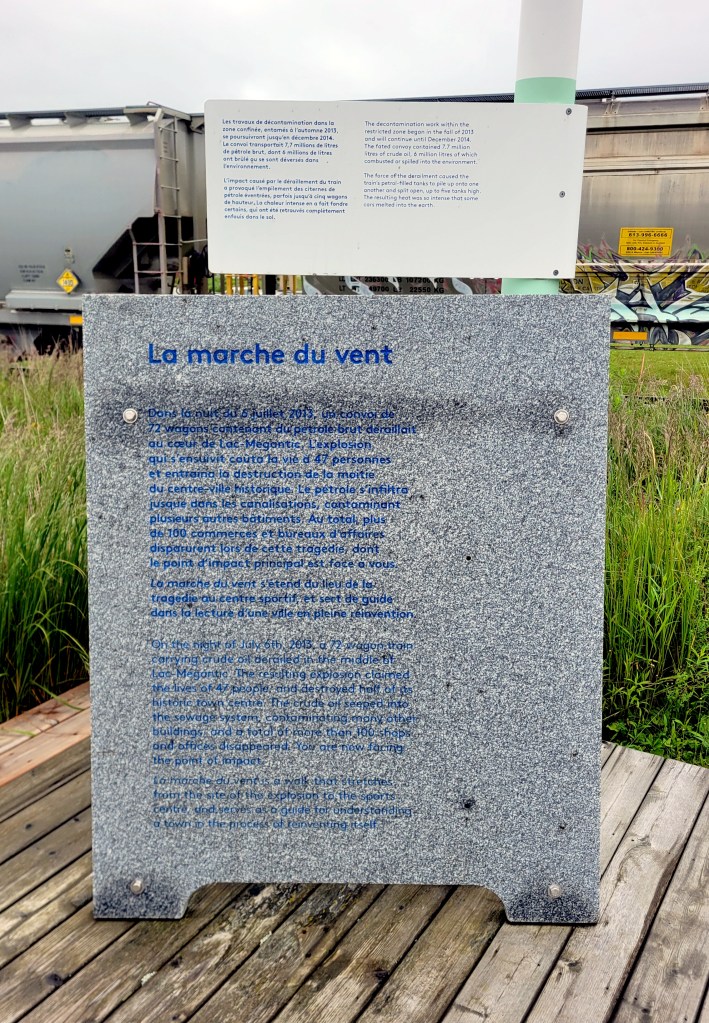
If you are into adventure motorcycling, you’ve heard of Itchy Boots. Even if you aren’t into adventure motorcycling but ride a motorcycle, you’ve probably heard of Itchy Boots. In fact, if you aren’t a motorcyclist, will never be a motorcyclist, and aren’t into motorcycling at all (adventure or otherwise), there’s a good chance that you’ve heard of Itchy Boots. Her YouTube Channel to date has 3.36 million subscribers. In other words, more people subscribe to her channel than cable television. More people watch her videos than those who watched Supergirl. I suspect more people follow her on social media than the Kardashians. I might be a little off on these estimates but she’s popular! Which begs the question, Why?
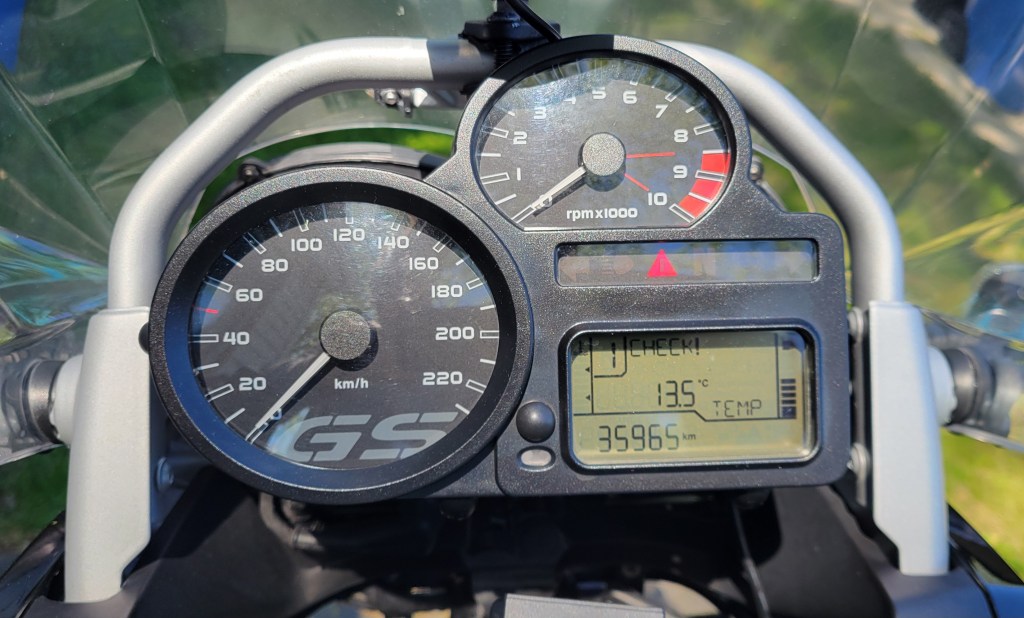
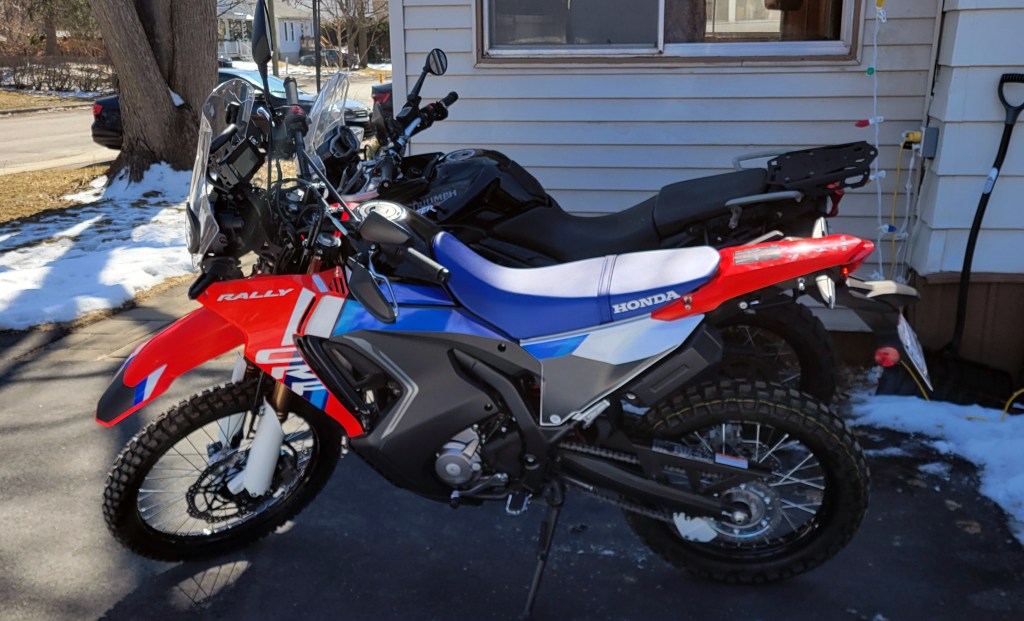
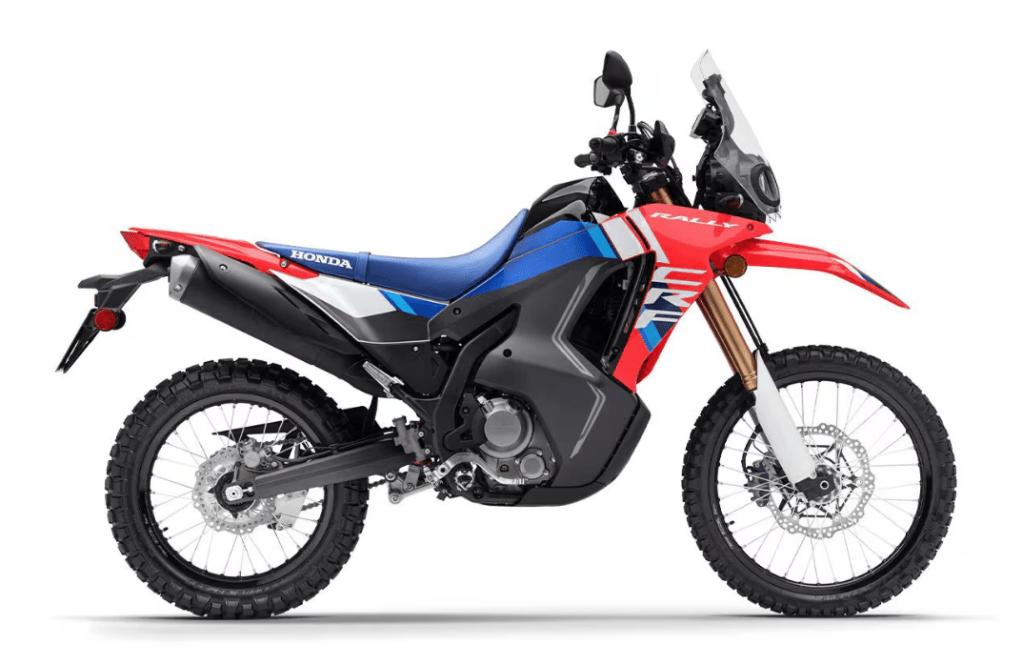
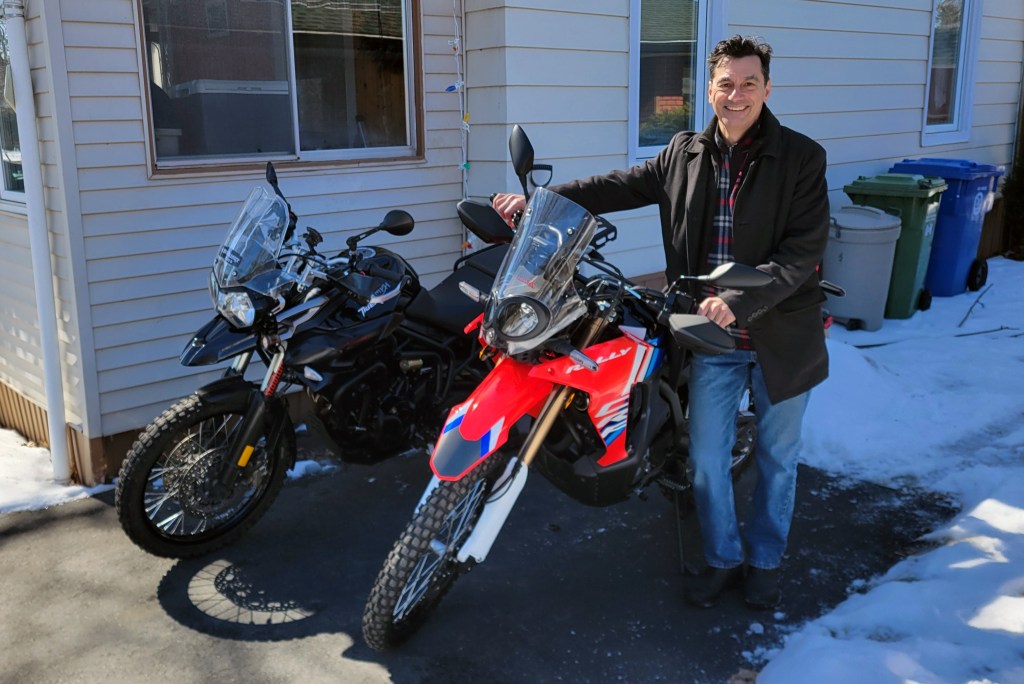
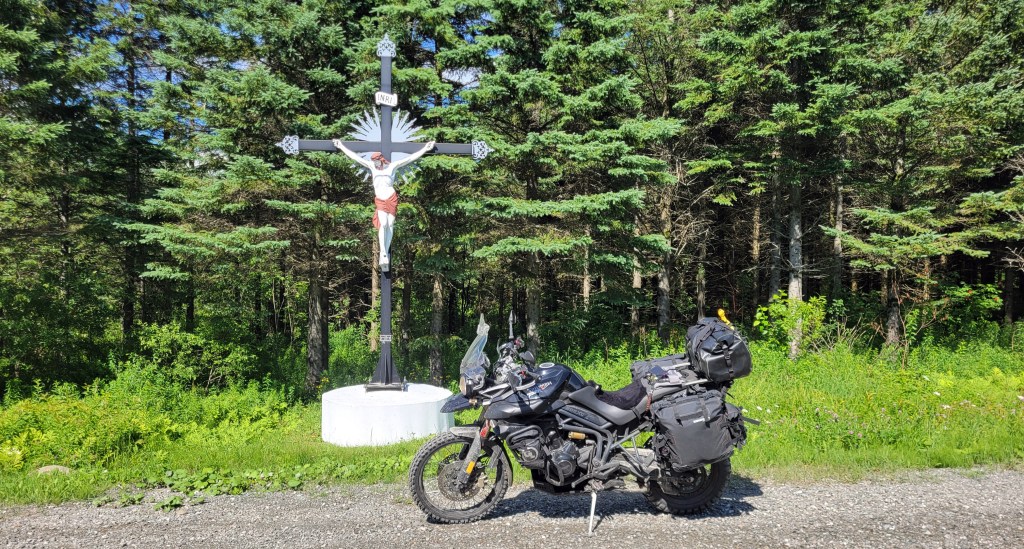
I must admit, I missed her first season as she travelled through the Middle East, the subject that largely occupies Free Ride. But I watched avidly her journey up through South America, Central America, and North America to Alaska on a Honda CRF 300 Rally. She’s a new rider, so I don’t find any technical instruction from her videos, but I admire her courage and determination to travel as a solo female rider through some very punishing and dangerous geography. She’s inspiring. If you find yourself sitting at your desk (or armchair with your tablet or phone) and dreaming of doing adventures to far-off exotic lands, her videos are excellent fodder for those dreams and might even provide for you the gumption to get up out of your armchair and realize them. If this blond, blue-eyed woman of 5’6” can travel solo through drug cartel Mexico, maybe I can get out there and have my own adventure. With that in mind, I’ve recently bought a Honda 300 Rally.
And if you aren’t interested in travelling except vicariously, her videos help restore your faith in the common goodness of most people around the world. They are the antidote to depressing legacy news and our cynical social media feeds.
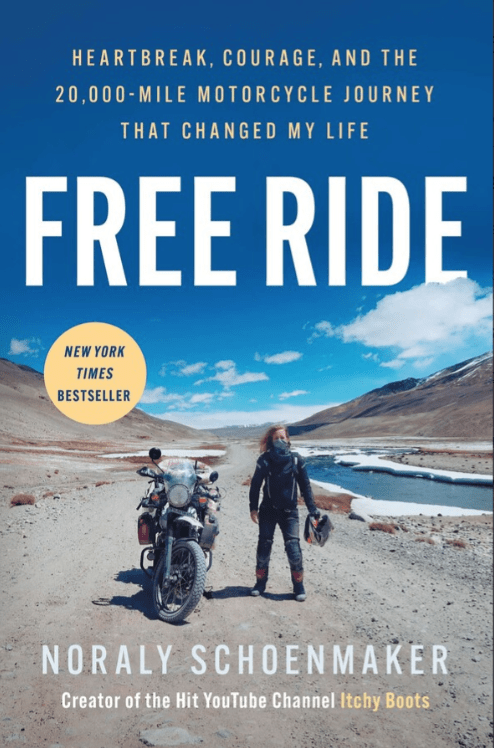
It is therefore all the more ironic that Noraly’s life-defining moment was an act of betrayal. (Spoiler alert.) She discovers that her husband has been having an affair with a colleague and in the fallout she loses her marriage, her house, and her job. Stripped of these three pillars of identity, she sets off to Delhi in search of a way forward. What results is, as the subtitle indicates, a 20,000-mile journey that changed her life.
The book opens with her stuck in the snow-covered Alborz Mountains of northern Iran. She’s out of her depth and has already dropped the bike several times. She’s not prepared for the cold and is freezing. No one is around and she’s in trouble.
There I was, all alone, halfway up a mountain, with a motorcycle that was stuck like a stubborn goat, refusing to take another step. I feverishly tried to remember when I’d last passed a village. Or a house. A person. Hadn’t I seen a house just before turning onto this hellish road, on the other side of a field? But the memory turned increasingly murky and disjointed with every attempt to bring it into focus. Eventually, I gave up and faced my only option. All I could do was walk up the mountain and find help, any kind of help. It was the best plan I had. (6)
She does find help, or help finds her. She comes across two shepherds, and although she doesn’t know any Farsi, she manages to explain her predicament. They walk with her back to the bike and one hops on and manages to get it moving again with the help of Noraly and the other shepherd. They not only get her out of that pickle but also provide her with warmth, food, and shelter for the night.
This is a refrain throughout the book. She gets into trouble, and the good-will of strangers gets her out. In this way, she restores her faith in others. In literally putting her life in their hands, she rebuilds the trust she lost in the betrayal of her husband and his lover.
There are other therapeutic aspects of her journey. Her description of the squalor of India’s slums is so vivid that it must have put her own plight into perspective.
The first few miles I rode that day were through the ugliest part of India that I’d ever seen. Small trash fires burned everywhere you looked on the side of the road. The smell of burning plastic was even worse than that of the smog, and every time I passed a fire I involuntarily held my breath. I passed landfills with gaunt, sick cows eating trash, and little kids poking around in it. The houses were patchworks of plastic, cloth, and pieces of wood, and even from the road I could see that most of them were on the verge of collapse. Young women—barely more than children themselves—walked to and fro with bags of construction debris balanced on their heads, dressed in gorgeous, colorful saris. Their elaborate, graceful garments contrasted sharply with their dull, tired eyes. (46)
She stays in some pretty rough “accommodations” and endures a lot of physical hardship, from extreme heat to frigid cold, dust, rain, bugs, air pollution, etc. . . . you name it. Adventure motorcycling is not for the faint of heart. This reader wonders if there was, in these self-imposed hardships, a sense of expiating guilt for her own decisions in the past, and perhaps for some denial when she sensed that something was wrong in her marriage. A woman always knows.
Indeed, as the book and the journey near their end, she concludes:
My broken heart and the pain that had plagued me from the start of my adventure began to disappear into the background, and the bad memories with it. Finally, I could see that I hadn’t only lost, I had also gained. Every lie he had told hadn’t just been a lie, and every act of betrayal not just a betrayal. I had been right every single time, because I had sensed all the untruths from the start. I hadn’t been crazy or paranoid. I could trust my gut feeling. It was the only thing that hadn’t let me down. I welcomed my intuition with open arms, like an old friend. (196)
Free Ride documents Noraly’s personal journey through grief and healing as it describes her physical journey through South, Central, and Western Asia. The two narratives intertwine but unfortunately are not balanced. As a piece of personal creative non-fiction, Free Ride is relatively void of emotional content. Her attention is largely focused on describing to us the physical details of the ride and the people she meets, and the personal insights are few and far between. For example, her account of finding out about her husband’s affair gets less than two pages, and while she returns to it periodically throughout the book, she never really gets down in the dirt and the mud and weeds of this journey as she does with the one on her bike. This is a shame because the verbal arts lend themselves best to describing emotional life and thoughts. (Think of the difference between a book and the movie version of a book. We don’t get the interior life of a character in the movie as readily as in the novel.) And I have to say, at one point in reading Free Ride, I wondered what I was getting from it that I couldn’t get from watching her video series of the same content.
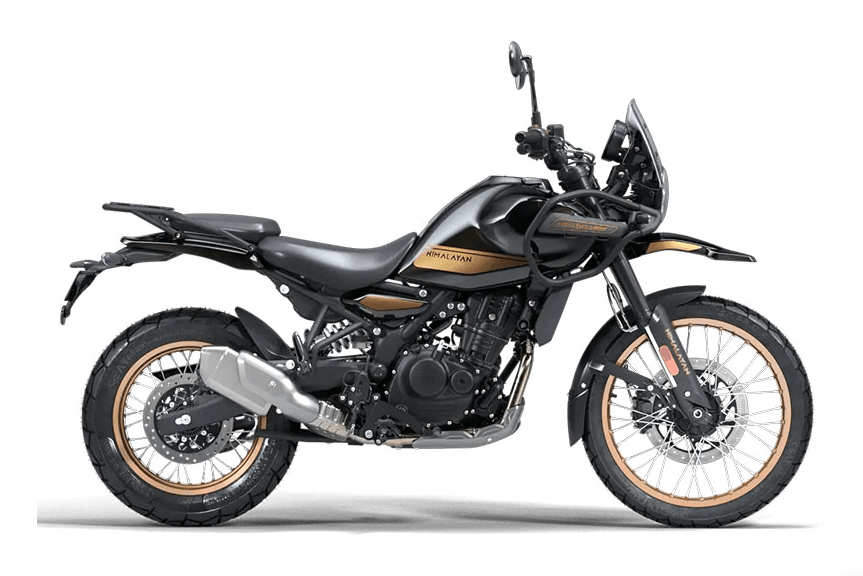
There were also a few small technical issues with the narrative. At one point, I couldn’t remember how she ended up with Basanti, her trusty Royal Enfield Himalayan. That is to say, I couldn’t remember her making the major decision to buy it and went searching back through the pages to find that major event. I’ve looked and looked, and all I can find is when she’s handed the keys: “It wasn’t until after the wedding, when I was standing in Delhi and Irfan handed me the keys to Basanti, that I realized that what I had bought from him was freedom” (43). Perhaps I’m missing something and a reader can point me to the page(s).
Part of that confusion might be because the narrative through the first 50 pages or so is quite fragmented as it jumps back and forth in time and setting between the events of the end of her marriage, the end of her job, discussion with family and friends about her decisions, and even her past as a student of Geology and her program work. These are real structural challenges that required deft editing.
Speaking of editing, there were times also when I found the English a bit . . . pedestrian. I know the version I read is a translation, but if I’m being picky—and I am—I’d say some sentences don’t quite work. There is a tendency to lead with a long adjectival phrase and have the verb come very late.
After finishing up a plate of laghman for the umpteenth time on this trip and lingering to stay in the cozy heat of the restaurant a little longer, I got ready to leave Murghab. Even though there was a hotel down here, and earlier in the day I had considered staying around for a night, I wanted nothing more than to leave. My desire to escape the bleakness of Murghab, suddenly longing for sunshine, won out.
See what I mean? This is not Noraly’s fault but her editor’s, and my sense is that the book was rushed to press a little fast. I hear she is completing her second book as I write this and I hope the language gets a little more attention in it.
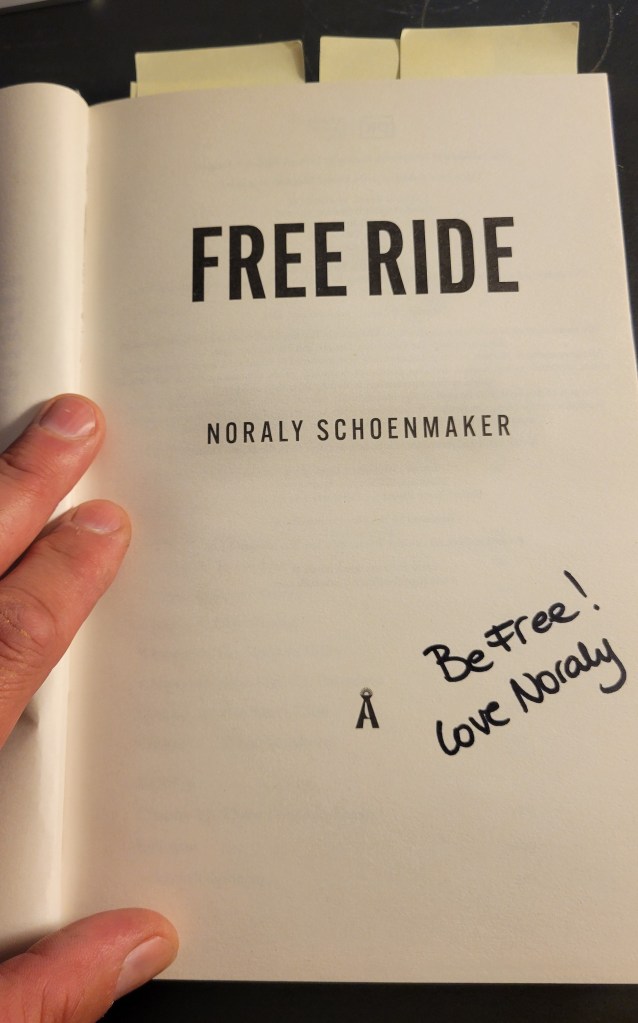
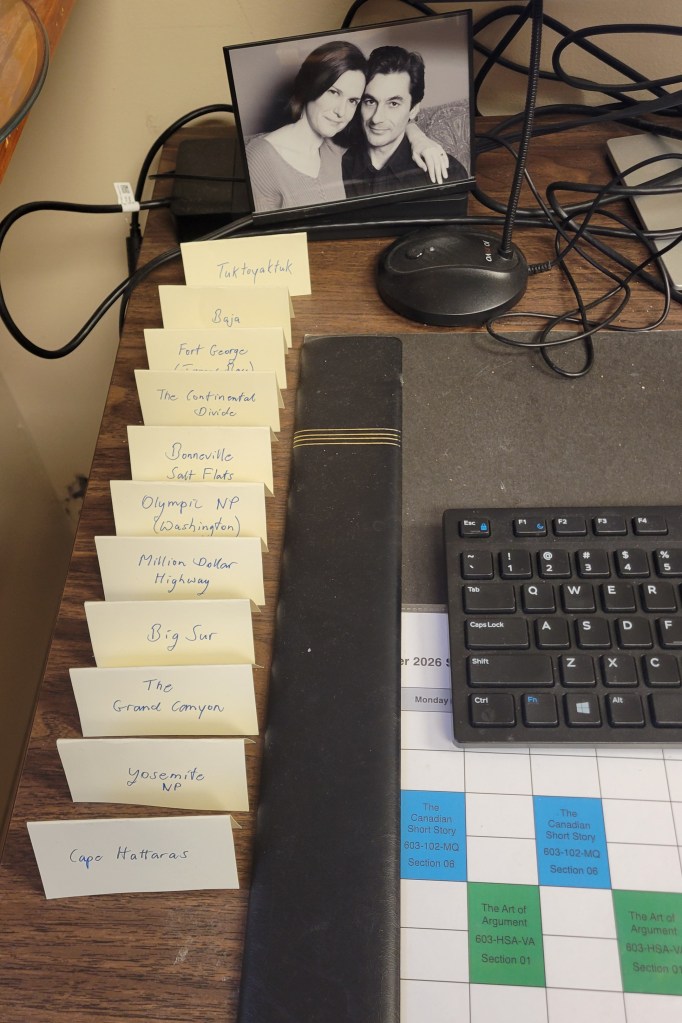
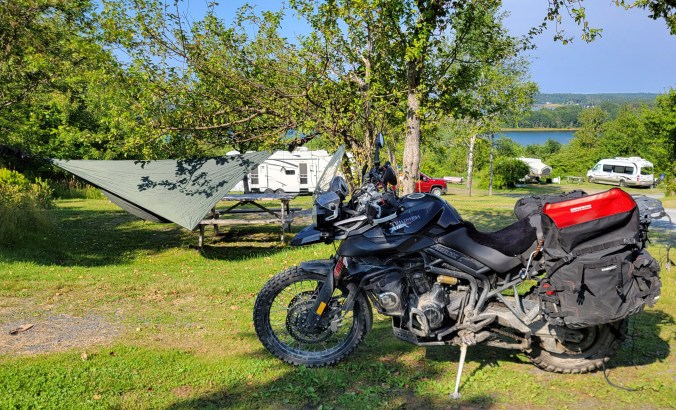
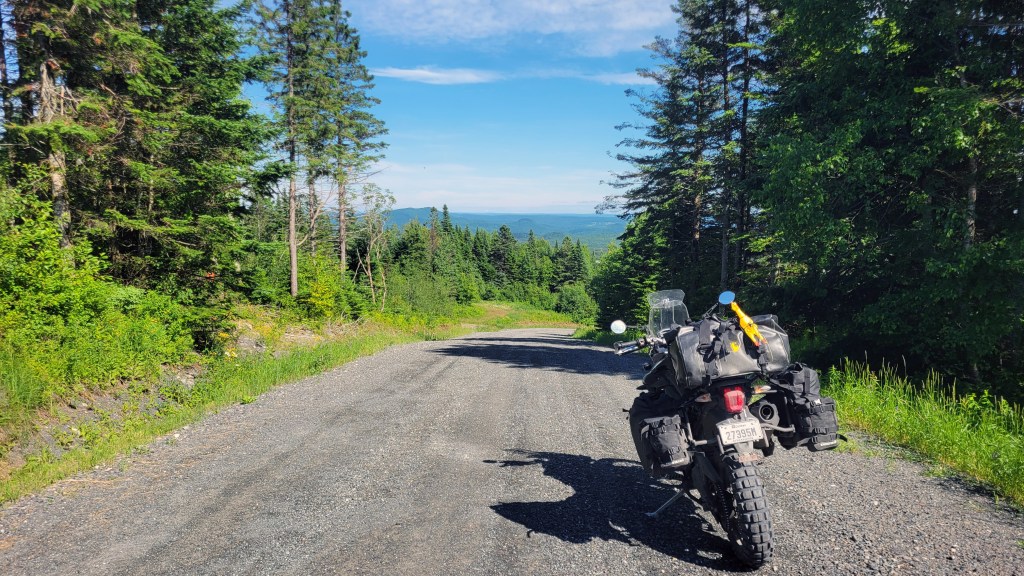
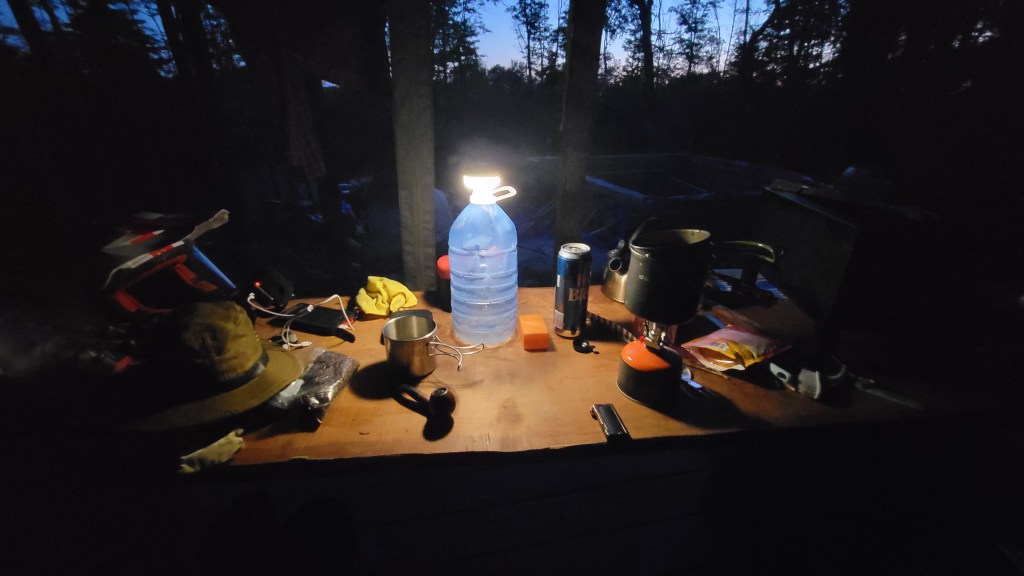
Finally, I would be remiss if I didn’t mention how I came by Free Ride. A good friend of my wife was living in London last year and, knowing I was an avid motorcyclist, went in search through a few bookstores for a signed copy for me. Thank you Christa! I don’t mean to sound critical of the book but honest and fair. I did enjoy it overall, especially as I read it in snatches as I completed my end-of-term marking and could dream of the summer and retirement, the purchase of the Honda 300 Rally, and my own touring plans.
Noraly reminds us that you don’t have to be an expert rider to be an adventure rider. You don’t have to have a $30,000 motorcycle with 120+ HP. You don’t even have to have a YouTube channel with 3M subscribers. You just have to have a big heart and a burning desire to explore the world. There is nothing holding us back but fear.