The biggest drawback of hammock camping has nothing to do with the hammock
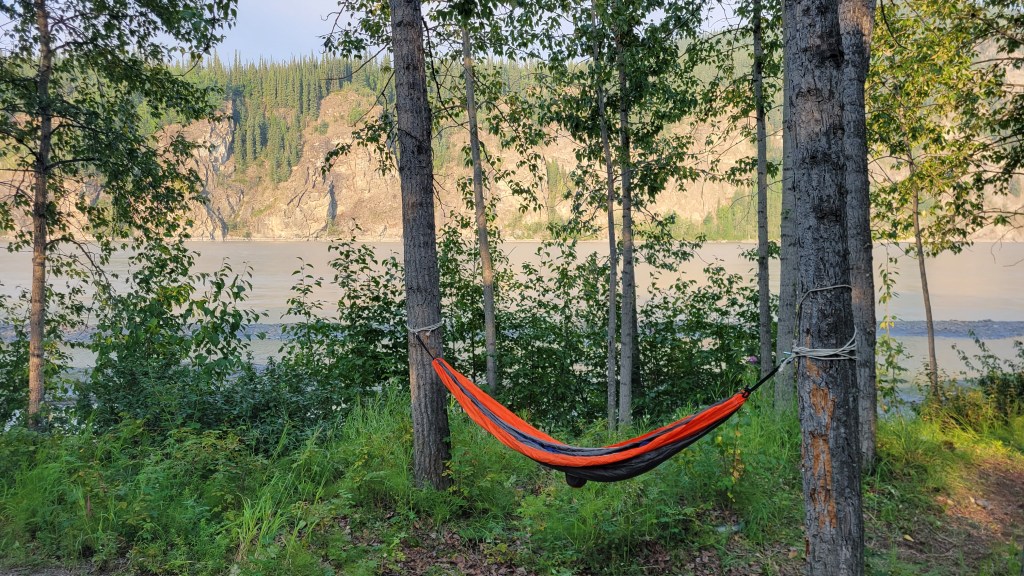
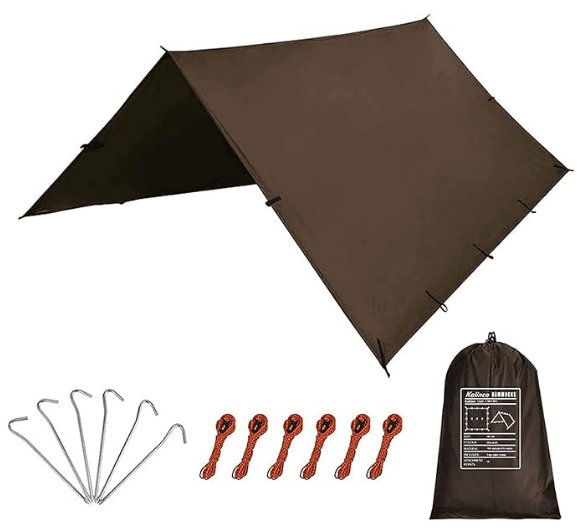
The first time I tried hammock camping it was with a little recreational hammock, the kind that pack up to the size of a mini-football. I’d bought it with the idea of using it around camp on off days to lounge and read and nap, but not necessarily to sleep in. When I decided to see if I could use it to replace my tent while mototouring, I bought an Aquaquest 10×10 tarp to go over it and a cheap ($17.99) zippered bug net off Amazon. I figured I’d dual purpose the ratcheting straps I now carry when I tour; they are good for bike recovery but I’d also use them to string the hammock.

It took me 1.5 hours to string that hammock first time. My camping friend made a point of noting it, thank you. Okay, the ratcheting straps didn’t work, and I never did figure out how the little bug net was supposed to work with the hammock. I got eaten that night but recognized the potential of hammock camping, so when I got home I bought a Hennessy Jungle Expedition hammock.
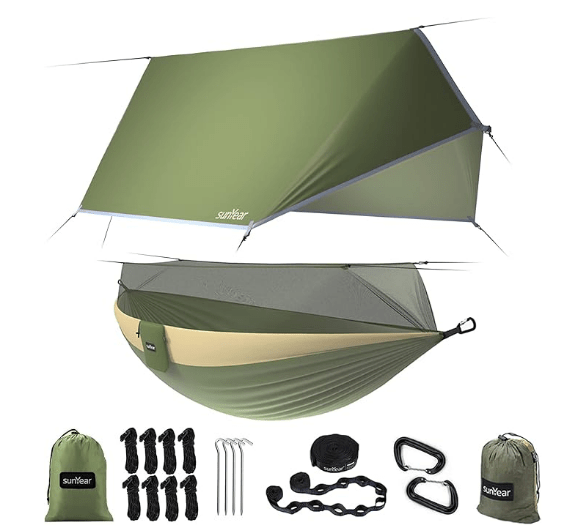
The nice thing about the Hennessy is that the fly, ridgeline, bug net, tree straps, and hammock are all included and integrated in a system that is easy to set up and works very well together. There’s even an optional insulated pad for cooler temperatures. I camped exclusively with the Hennessay over a tour of two weeks in July through Quebec and Nova Scotia and found it comfortable but with a few drawbacks.
Hennessy Hammocks
Tom Hennessy began sleeping in a hammock while camping with his family in the 1950s and has been making them for over 60 years. His first was bought at an army surplus store for $3 and he loved it but decided he could improve on it. He began a series of over 50 prototypes that eventually led to the patented hammock that went on the market in 1999. Since then, he’s continually tweaked the design and added some extras. I get the impression Mr. Hennessy sometimes lies awake in his hammock at night trying to figure out how to make it even better.
Features
Hennessy hammocks are asymmetrical. The hammock and tarp are not diamond shaped but are more like a parallelogram.
This allows you to sleep diagonally in the hammock. The problem with conventional hammocks is that you end up like a banana squeezed in the shoulders and hips and with no room to move. The Hennessy strings from opposite corners like a conventional hammock but has tie-outs at the other two corners that you stake to the ground (or can tie to neighbouring trees). The result is more like a floating 1-person tent than a backyard hammock.

The fly is also asymmetrical so matches the shape of the hammock and attaches to two hooks on the ridgeline. At first I removed it each time I broke camp, but eventually I decided to keep it on. That’s a personal preference. Maybe if it were wet I might remove it and store separately.
Hennessy hammocks also have a unique entrance system. Instead of entering from the side, you enter through a slit in the bottom and the hammock snaps closed beneath you under your weight. Apparently this system is better for avoiding mosquitoes. It seemed a bit too vaginal for my liking so I decided on the side zip entrance which was introduced by popular demand. It’s easier to set up your bedding and I imagine to exit for nighttime “excursions.” This is a matter of personal preference and I wasn’t able to try the classic model but was happy with the side zip.
Here is a helpful comparison chart of all Hennessy hammocks showing entrance type.
The integrated ridgeline is made of high tension cable with a plastic coating. This ensures a consistently straight and strong ridgeline across the top of the hammock regardless of how you’ve strung it. On the ridgeline inside the tent is a sliding net bag for personal items like glasses, wallet, phone, etc. and the ridgeline can also be used to hang a lantern or water bottle.

Finally, all Hennessy hammocks have very strong mesh that is impermeable to mosquitos, black-flies, and even tiny no-see-ums. There were a few times when it accidentally got caught in the zipper and I feared it would be torn, but when I forced the zipper open again the mesh was unfazed. It’s strong!
Stringing the hammock

The cordage is permanently attached to the hammock and Hennessy provide plenty of it, but you want to find trees that are fairly close to the length of the hammock because, unlike the ridgeline, the cordage stretches. I once had to string the hammock using most of the extra cordage and found myself almost touching the ground no matter how tight I strung it.
Hennessy have a recommended lashing for stringing the hammock. You can use a knot like the Siberian Hitch but you run the risk of it getting hard to undo, especially under weight if it gets wet. The lashing is easy to do and is plenty strong enough. Apparently it will also preserve your cord better than knotting.
Instead of ratcheting straps, the Hennessy comes with tree straps, which are a similar type of wide (1″?) nylon webbing. Using them protects the trees; paracord digs into the bark and can damage a tree. Depending on how thick the trunk is, you might have to wrap the strap around twice.
You want the tree straps about eye-level and the same height so the hammock is level and your feet are slightly off the ground when you are seated upon entering. Instead of bringing gear into a tent, I stored it under the hammock and it never got wet. If you are dry, your gear underneath you is dry. This is a change from tent camping and took some getting used to but the same precautions apply: nothing smelly near the sleeping space except your boots which, if they’e anything like mine, after a week of touring act as a deterrent to any sentient being rather than an attractant.

My hammock came with free Snakeskins, an optional extra that slides over the hammock when packing up to protect the hammock in your pannier and to keep it dry. (I got them free for signing up for Hennessy’s newsletter.) They stay on the ridgeline and slide up to the ends when the hammock is in use and slide down (like a long nylon sock) for packing. At first I thought they were a bit gimmicky but ended up finding them helpful in facilitating set up and take down. I had it so I only had to pull up the stakes on the tie-downs of the hammock, pull down the snakeskins, and unlash everything from the trees. It took maybe 2 minutes. Alternatively, you can leave your sleeping bag in the hammock and stuff everything in a bag when breaking camp and use the snakeskins on the tarp to protect your gear if the tarp is wet.
You can see the snakeskins in use at the very end of this video of Tom demonstrating the classic model.
The Jungle Expedition model
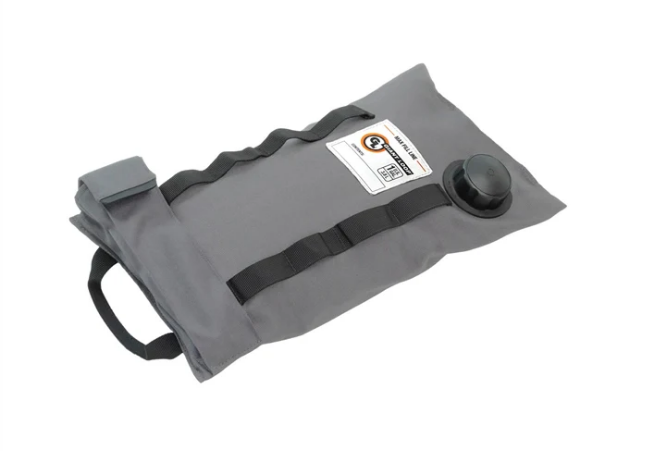
I got the Jungle Expedition Model because it has the double bottom where you can slide a blanket or the optional Radiant Double Bubble Pad. I knew enough about hammocks to know that you don’t get the insulating properties of a mattress as you do in a tent and that the down of your sleeping bag compresses underneath you and loses its R-value, so there is a tendency to be cold. The Double Bubble is like those fold-out reflective screens you put in your car windshield to protect your upholstery from the effects of the sun. In fact, Tom suggests this for those who don’t want to buy their custom one. You just have to cut it to fit.
I decided to get the Hennessy Double Bubble pad even though it would mean I’d have to take a tail duffle. The Hennessy ones have clips sewn into them that attach to hooks in the compartment underneath and keep it from moving out of position. If the Double Bubble pad is not enough, the SuperShelter 4-Season Insulation System has been tested in the Arctic and, as the name suggests, can turn your hammock into a 4-season hammock.
I was trying to pack small and light and so did not buy the SuperShelter. In the end, the Double Bubble was not quite enough for some of the 12C (54F) nights and I had to pick up a cheap synthetic blanket and slide that in too, plus wear merino wool and a wool sweater to bed. Maybe I wasn’t stringing the hammock correctly because I found it did not retain body heat as well as a tent.
Pros and Cons of hammock camping
Aside from the cold, the biggest challenge of hammock camping was finding the right trees. Many campgrounds clear cut their sites or leave only some coniferous trees on the perimeter. Where this was most apparent was near the water, when I was up along the coast of the Gulf of St. Lawrence. I never had to sleep on the ground with the tarp strung off my bike but I came close a few times. Overall, I think the hammock is not practical for motorcycle touring. For that, where the geography is so varied, a self-supporting tent is still the way to go.
The other disadvantage I found with a hammock is that it is more difficult to get undressed (or dressed, as needed) in it. You need to be a contortionist at Cirque du Soleil to get out of your pants or put on a sweater. I guess you have to do all this outside the hammock, but then there’s less privacy. Similarly, getting in and out of a sleeping bag is more arduous, and if you are using a bag liner, that’s even more complicated. In the end, except for the really cold nights, I opened up the bag and used it more as a blanket over me. For the same reason, a mummy bag doesn’t work very well in a hammock and negates the ability to stretch out or be active in sleep. There’s also less room in a hammock to put anything like a book, and what you do bring into the hammock and cannot be hung on the ridgeline ends up underneath you (including said book).
On the plus side, my back was happy throughout the tour and it’s getting fussier in my older age. I also didn’t have the annoyance of a loud inflatable mattress or the sliding around (and off it) that happens with my particular one. When I got home, I bought a self-inflating mattress that is quieter for tent camping and can slide into the bottom of the hammock for cold nights. I’m curious to try this combination when the conditions are right.
I never once got wet, and I had some stormy weather through a couple of nights. Most people are nervous about this, but rest assured, the tarp is impermeable and covers you and your gear sufficiently. In fact, a hammock is arguably less susceptible to wet because it’s off the ground.
The Hennessy Jungle Expedition is a good choice for motocamping when you can be sure to find appropriate trees and when it’s not going to be colder than, say, 15C (60F) at night. I imagine it would be great for travelling through the more temperate United States, but here in Canada, where even midsummer the temperatures drop at night, you aren’t saving any space because you’ll have to bring extra insulation.
But get everything right and the Hennessy will produce a very good sleep, better than sleeping on the ground, regardless of how good your mattress is. It definitely has its place amongst my camping gear and will be my preferred choice for car or canoe camping and some motocamping if it’s not going to be cold.