Rain, Rides, and Ribs—the unofficial season opener La Classique never disappoints.
My students were writing a final test when I got the missed call and then message: Riley had a spot on the Awesome Players team at this year’s Classique. I wasn’t planning on doing the rally this year but jumped at the opportunity to ride with them, which is always fun. I called him back at the break, got the details, and confirmed.
I’ve done this rally once before by jumping onto an open spot with another team. The way registration works is that teams are created by team captains and each team has 10 spots. Riders on a team preregister, and if there are any open spots, they can be filled during the open registration. Participants are asked a lot of questions during registration like riding experience, type of bike, number of years off-roading, etc. to ensure that team members are compatible. You’re even asked if you prefer a relaxed or sustained pace. It’s a good system that allows lone riders to join a team and participate in the rally.
The Awesome Players have been doing this kind of riding for many years and usually enter into one of the advanced rides. Maybe they are tired of pushing heavy bikes through mud while getting roosted, or maybe they just wanted an easier ride but they decided to do the Classique Plus this time, which suited me fine. I did that ride when I participated in 2023 and it was at my level—mostly dirt roads but with a little sand, rocks, and water in the mix to keep it interesting.
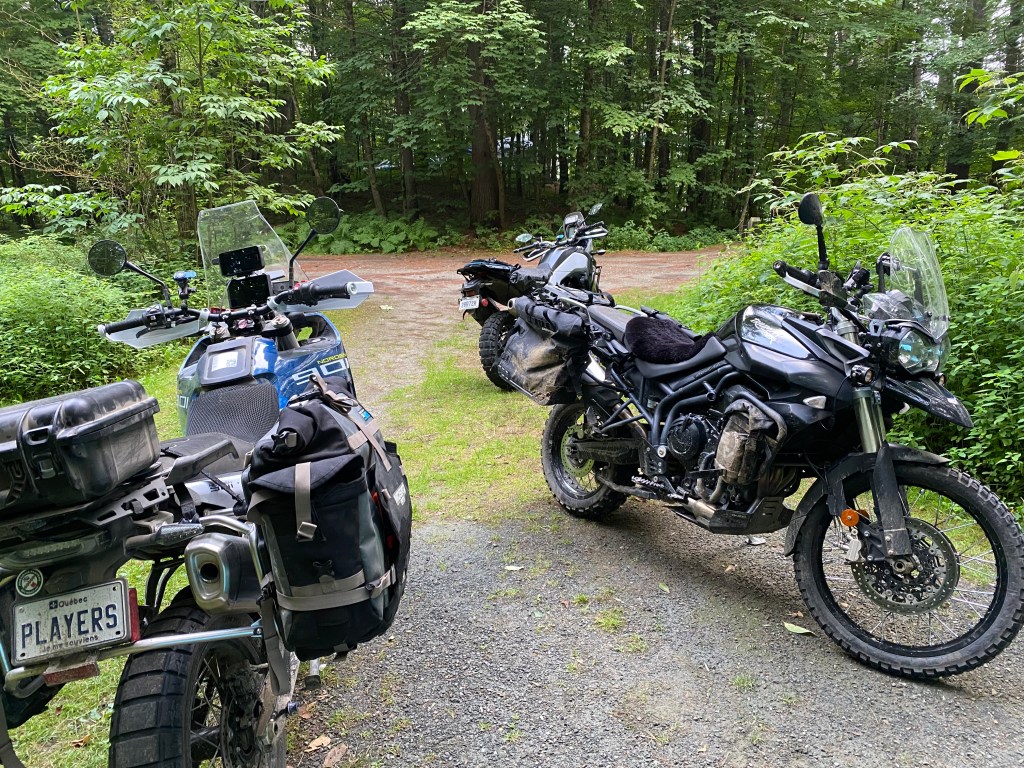
Our ride was Sunday but it’s fun to have a relaxed day at the rally to hang out and do demo rides. Many of the manufacturers were there, so I rode up Friday evening with Curtis, a fellow West Island Motorcycle Club member, who had recently bought a 2017 Tiger XCA and was going to try ADV riding. There’s camping available on site so we would camp two nights and do demo rides on the Saturday.
Demo Rides
Dealers are now reluctant to offer demos so you have to attend these events and get them straight from the manufacturers. I was lucky because I was able to demo two of my dream bikes: the Kove 450 Rally and the Aprilia Tuareg. I’m a year away from retiring so am scouting a potential new bike for the kind of riding I want to do in retirement.
Kove 450 Rally

Okay, maybe it was a little naïve of me, maybe a little romantic, but I had visions of slapping a little Mosko Moto 40L Reskless system on this bike and using it as a super-lightweight ADV bike capable of tackling anything Colorado or Utah could throw at me. One of my bucket list rides is The Continental Divide, a challenging ride technically, so what better bike to do it on than one that completed the Dakar. I also figured that if rally riders can ride it for long days on end, so could I, and with 8 gallons of fuel capacity, there would be no more fuel anxiety when remote riding.
The first thing I noticed when riding the Kove 450 is that it’s loud! I have to be careful with what hearing I have left so I’d have to change the pipe or get a baffle or something, but that’s an easy mod. The other thing I noticed is the significant head-shake I was getting at speed. I thought it might have something to do with the particular front tire on the bike, or maybe my body position, but a steering damper would take care of that too.

In the end, I think this would be a really fun bike for day rides, but the experience of riding one is so raw it would be tiring for a multi-day tour. The bike is, after all, a race bike. But it is a ton of fun to ride and when I get out into The Rockies, one might be in my garage.
Aprilia Tuareg 660
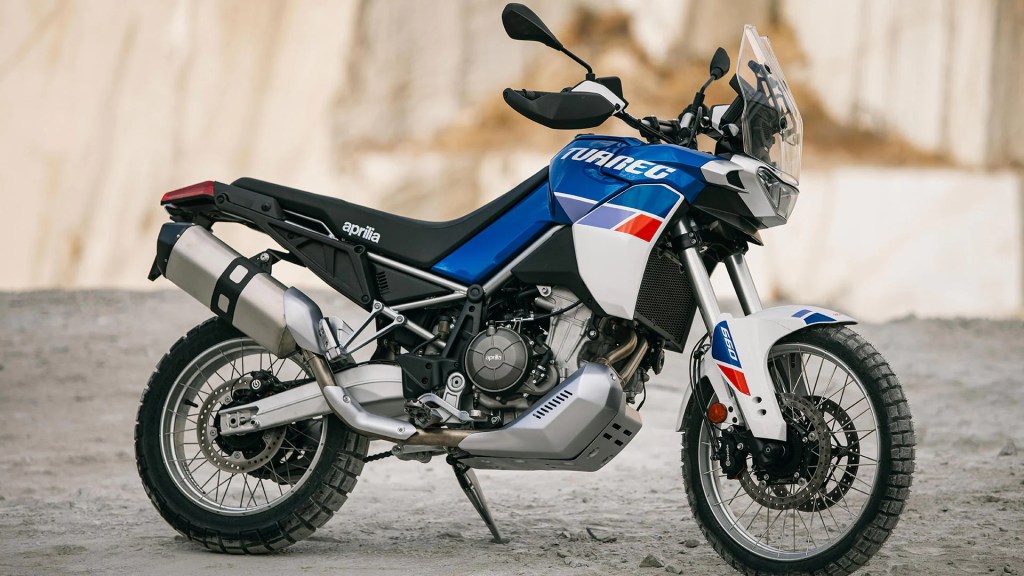
This bike had just been released when I sold my BMW f650GS and decided to get something a little bigger. I didn’t give it a serious look because at only 10cc larger, I didn’t think it was different enough from the BMW. In fact, it’s closer to the Tiger 800 I have now in power than the 650, and that is why I probably won’t get one. I already have a good midsize bike for adventure touring, and if I were to get another bike, it would either be a bigger bike like a 1250 for crunching the miles 2-up across The United States and Canada or a smaller bike for playing in the mountains out West.
The Tuareg is getting excellent reviews and I’m sure it’s an excellent bike. Llel Pavey of Brake Magazine gave it a glowing review, and he’s normally very discerning in his reviews. He said everything about it—the engine, the suspension, the balance—was excellent and implied it is the perfect adventure bike. If I were in the market now for a midsize do-it-all bike, the Tuareg would be a good choice.
I wasn’t able to test this bike on anything but asphalt so I can’t judge what it’s like off-road. On road, I found a surprising amount of vibration in the handlebars and, again, it was loud. (Other reviewers have said the same about the noise.) Aprilia were clearly aiming for the off-road market and made the induction intake robust and guttural. I’m sure the Tuareg is better than the Tiger for technical riding, but on asphalt and I imagine on dirt and gravel roads, I have to say I prefer the Tiger for its smooth engine and exciting but not deafening exhaust note. It’s always nice when you walk away from a demo ride feeling that you already have the best bike for you, especially when that demo is of a dream bike.
CF Moto Ibex 450

The surprise of the demos was the CFMoto Ibex 450. Maybe it shouldn’t have been. People are saying that the Ibex is finally the unicorn bike everyone has been asking for but no one has been willing to make. It’s small and light but with plenty of power, a 270 degree crankshaft, slipper clutch, rider modes, KYB adjustable front and rear suspension, spoked tubeless wheels, a great exhaust note, radial brakes, 5″ display with Bluetooth connectivity . . . all for under $8,000! People at the rally were saying it’s going to be a KLR killer.
The fly in the ointment is that it’s Chinese made (as is Kove). Does that matter? To some it does; to others it doesn’t. CF Moto have been making bikes for KTM since 2017 and has competed in Moto 2 and has won Moto 3 and Rally Raid, so it’s not some Johnny-Come-Lately cheapo brand. In fact, the Ibex comes with a 5 year warranty. Maybe it’s time we stop generalizing to all Chinese manufacturers the stereotype about poor build quality.
Besides reliability, the other issue with buying from a Chinese company for some is that you are supporting the Chinese government and its authoritarian practises, human rights violations, and general bullying behaviour in Asian geopolitics. I can understand this. Currently there’s a “Buy Canadian” spirit happening in Canada as ordinary citizens exercise one of the few ways they have political agency—through their pocketbooks. When it comes to China, it’s especially hard to separate company from state, and many people are deciding today to purchase ethically. On the other hand, Capitalism has pulled more than 1 billion Chinese people out of extreme poverty since 1981, virtually eliminating extreme poverty in the country (World Bank Poverty and Inequality Platform (2024) – with major processing by Our World in Data). If you choose to boycott China when purchasing, are you hurting the Chinese government or the Chinese people? The ethics are not simple.
But back to bikes, unlike the Kove’s 450 single, the Ibex’s 450 twin is smooth. I also noticed that CF Moto have geared the first two or three gears with lots of torque for off-roading, with the other gear ratios spread out so that even at highway speed the little 450 is not straining. In sum, it’s a sweet little bike, and perhaps it will be an Ibex and not a Kove that I take over those Colorado mountain passes.
BMW

Of course I had to spend some time at the BMW display. Yes, I still have a bit of sweet spot for the German brand that began my motorcycle life. I had in mind to try their flagship 1300GS, but it was fully booked. In fact, all the GS’s were booked in the remaining time slots so I tried a big K1600 GTL for a lark. This luxury tourer starts at $36,000. A demo is about the only opportunity I’ll have to ride one, so I thought, “Why not?” Marilyn would surely be riding in style and comfort on the back of one of these!
The experience was pretty interesting. I’ve ridden a Gold Wing before so am not unfamiliar with a big bike, but this big bike was something else. If the rawness of the Kove is at one end of a spectrum, the comfort of the GTL is at the other. I wouldn’t say it felt like I wasn’t riding a motorcycle, but it felt more like flying an airplane than riding a motorcycle. Quiet and smooth, it glided over the pavement and banked into turns like a jetliner on final approach. When it started to rain on the demo ride, I simply lifted the windscreen with the push of a button and stayed dry.
In the end, it was fun to demo, but even if I had that kind of money, I don’t think I’d buy a GTL. It would take all the fun out of riding, and what’s more, I couldn’t help thinking of what it would be like with Marilyn on the back and trying to navigate all the off-camber stop signs and slow speed corners of somewhere like Saint John’s, NL, on such a heavy machine. One tired touring mistake and . . . Again, the Tiger is about perfect in weight and power for touring, and I feel very comfortable navigating it at slow speed, even 2-up.
There was one last demo and it came unexpectedly. My buddy Steve was riding the 1300 GSA and when we stopped for a break halfway he offered to switch. What a great guy! He knew I wanted to try the big GS, so I rode that back to the rally while he tried the GTL. The boxer is a very distinctive engine and I had more fun on the GSA than the GTL. I also found it really nicely balanced, as all GS’s are. No wonder the GSA is one of the top 12 open-class ADV bikes of 2025, according to Cycle World.
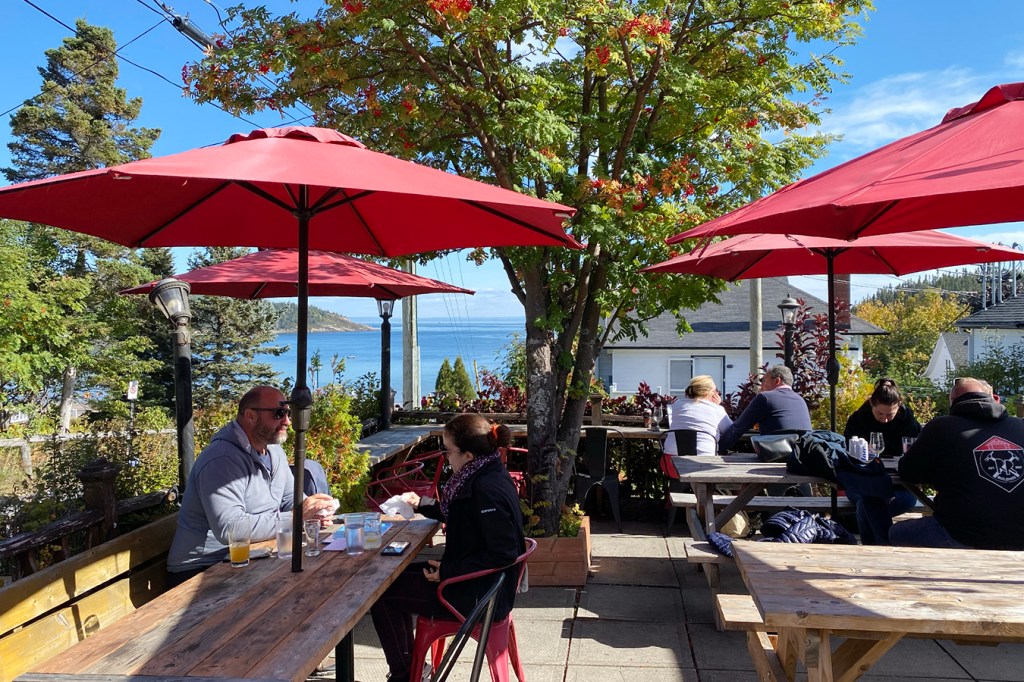
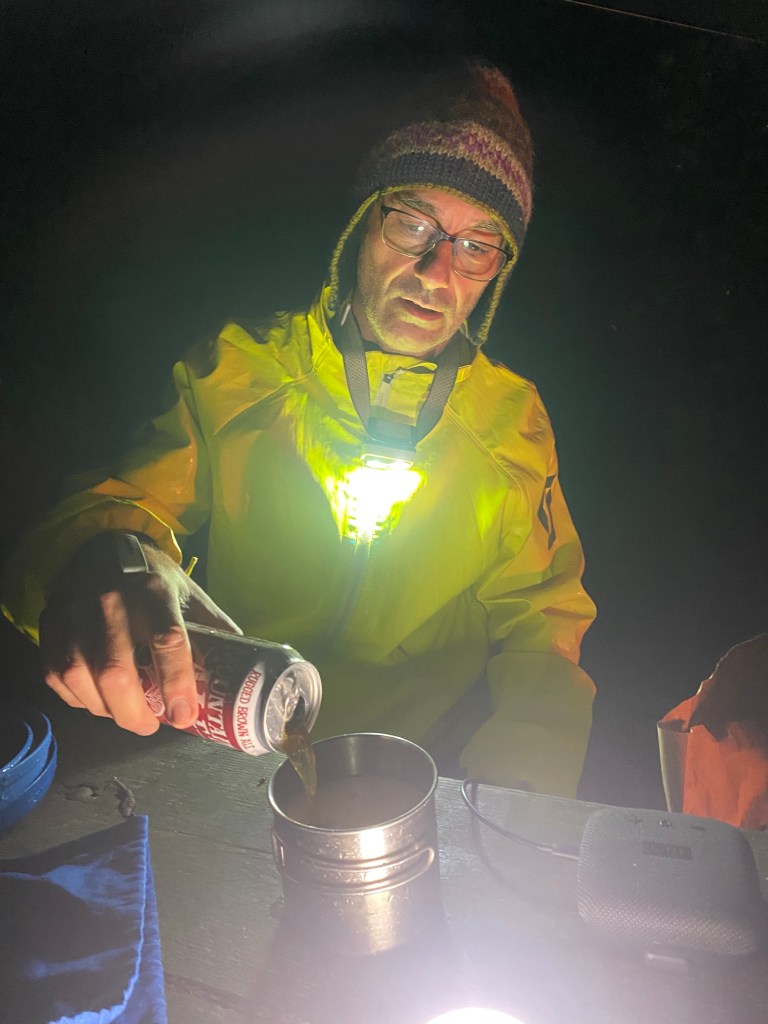
After the demos, we all piled into a bus and headed into Lachute for dinner. It’s great that the rally organizes the shuttle because they know that most grown men don’t have the good sense not to ride after “just a few.” The dinner was a fitting rack of ribs and poutine, with door prizes and Cherry Bomb, a Joan Jett cover band for the night’s entertainment. There’s a ton of organization behind this rally!

Classique Plus Ride
Sunday was our ride so I was up at 6:00 to be ready for an early start. Rally organizers provide coffee and muffins for breakfast so I didn’t even bother to bring my camp stove. I geared up and headed up to get the bike inspected, then slotted into line at the staging area. Shortly after 8:00, we headed off.
The Awesome Players use Sena and The West Island Moto Club uses Cardo. The previous evening we had overheard someone trying to connect a Sena with a Cardo and had a laugh about that. Good luck! Yeah, apparently in theory they can connect, but only if both are in Bluetooth mode and even then it’s pretty useless unless the other person is a pillion; anything further and you lose the connection. So Curtis and I could talk to each other—that is, until his battery crapped out. Maybe I’ll have to bite the bullet and get a Sena if I’m going to be riding more with these guys.
Like I said, this ride is mostly dirt and gravel roads and fairly mellow, but the road into lunch at Duhamel was a little more challenging with some mud, potholes, and rocks, but I didn’t get any video footage of it. My camera battery died early and I would need lunch to change it. After lunch, as we headed down a sandy trail, I turned on the camera just in time to catch the action.
Does this look familiar? If you saw my crash in Vermont last August, it should. Again, the front end tucks but this time it’s me and not the bike that ends up off the road. I’ve watched this a dozen times and still don’t know what happened. I didn’t chop the throttle and I didn’t hit the front brake. The only thing I can think of is that I made the classic mistake of making an input on a low-traction surface with the handlebars instead of the pegs. The front tire dug in and sent me sideways. This rally is always the first ride of the season and I think I was just rusty. I was also just really surprised because so far there had been nothing in the ride that was particularly challenging or unexpected.
But the drama was not yet over. Shortly after setting off again, I had another two near falls with epic saves. I wasn’t the only one struggling in the deep sand but at the time I thought I was. On these ones, especially the second, I think my front tire gets rutted.
After the second, I started choosing my line more carefully, staying out of ruts as much as possible, and especially getting my weight back. That seemed to help. In retrospect, I realize I should have accelerated through the deep sand, but that’s the last thing you feel like doing after you’ve just fallen.
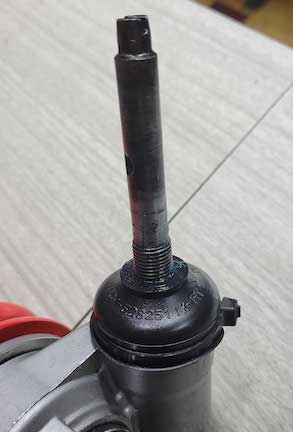
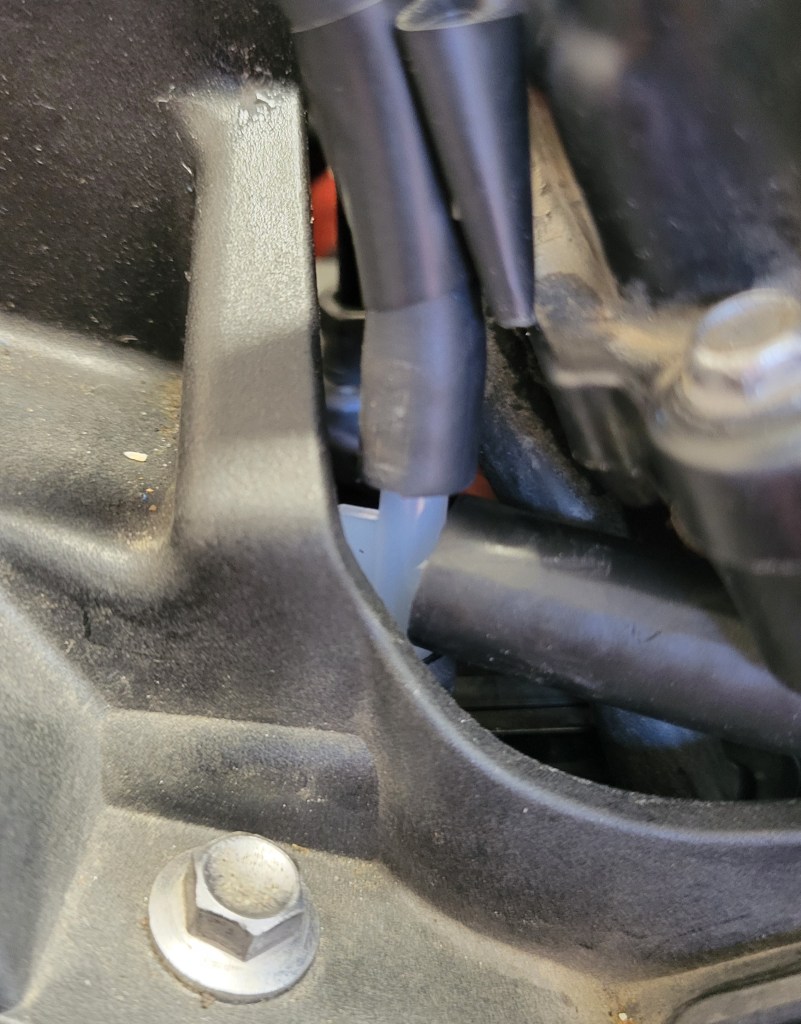
When we stopped for gas shortly thereafter, I had a moment to check my bike more thoroughly because it felt like the handlebars were not aligned. I probably torqued the front forks in the crash. The station had old-style pumps where you pay inside after filling and just as we were about to set off again I realized I’d forgotten to pay. Doh! I was a bit discombobulated.
Now it was time to ride some asphalt east of Namur on the fun Boileau Road. After the incidents in sand, I was happy to be back on asphalt where the Tiger is in its element.
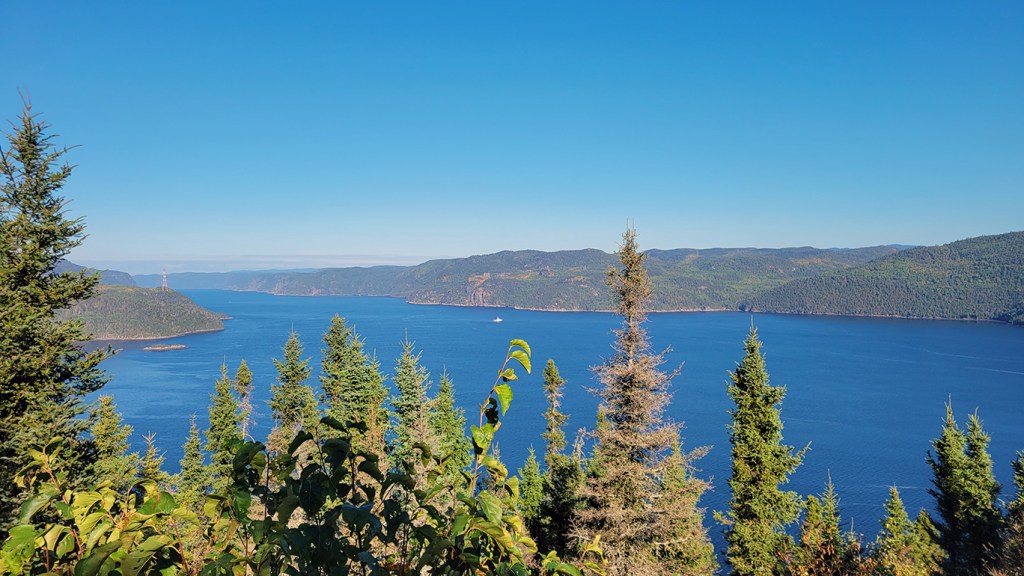
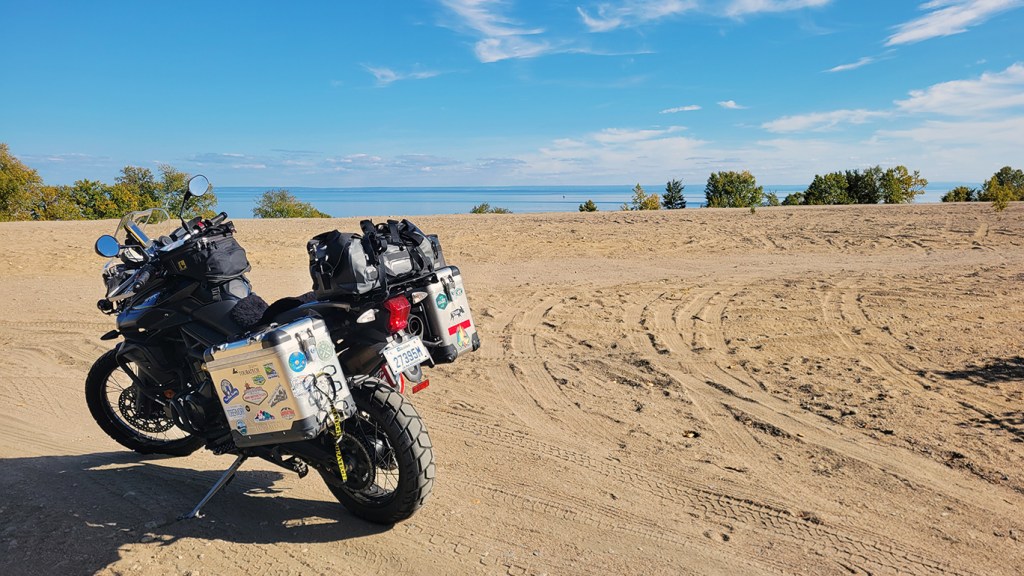
Most of the ride through the afternoon was on hard-packed dirt roads snaking through pretty rural countryside, like this one.
I don’t know if it was the climax of the ride but certainly a highlight was riding Scotch Road with these guys who in no small part made that road famous and popular for off-road riders. It’s a Class 4 road north of Grenville that even Fort Nine videoed when he was still in Montreal. Unfortunately, the Bob and Margs have moved in, literally, and it’s slowly being converted to cottage country. The road is now quite graded and you can see as we pass the famous sand pit that someone has blocked off access. I’m curious to know who and if that land is owned or crown land. If you know what’s happening there, drop a comment below. Sadly, spaces for recreational off-road motorsports are disappearing, and one has to travel further and further out of the city to find them, a topic Ryan F9 addresses as he rides Chemin Scotch. (Incidentally, you can compare the road eight years ago and now, as well as the quality of the video stabilization.)
We made it back to camp wet, cold, and tired, but the weather didn’t really dampen any spirits. It had been a really fun weekend of beer, burgers, and bikes. Thanks again to Marc Chartrand and his team of volunteers for once again putting together another great rally, to Riley for being such a good host, to Ivan for setting a nice pace for us newbies, and to the rest of the boys for including me and making it so much fun.
Have you participated in La Classique in the past? Drop a comment below describing your experience or another rally you would recommend. Any thoughts on access to public lands for motorsports? Here in Quebec we have it pretty good with the FQMHR network and the TQT—more initiatives of Marc Chartrand. Any other comments?